You’ve fallen in love with a sweater pattern. You buy the exact yarn, grab the recommended hook, and spend hours—maybe even weeks—crocheting with care. But when you finally try it on, it’s comically oversized… or worse, it won’t even fit over your shoulders. What went wrong?
Chances are, you skipped one crucial step: checking your gauge.
Gauge might sound like a technical detail reserved for advanced crafters, but it’s actually the secret weapon behind every successful crochet project—especially when fit, size, or yarn usage matters. Whether you’re making a baby hat, a throw blanket, or a tailored cardigan, understanding and measuring your gauge ensures your finished piece matches the designer’s vision—and your expectations.
In this guide, you’ll learn what crochet gauge really is, why it’s so important (even for “simple” projects), and—most importantly—exactly how to measure it with confidence. We’ll walk through common mistakes, troubleshooting tips, and real-life examples so you never waste time, yarn, or enthusiasm on a project that doesn’t turn out as planned.
Let’s turn gauge from a chore into your most trusted crafting ally.
1. What Is Crochet Gauge—And Why Should You Care?
At its core, gauge (sometimes called “tension”) refers to how many stitches and rows you make per inch—or, more commonly, per 4 inches (10 cm)—using a specific yarn and hook size.
For example, a pattern might state:
Gauge: 15 stitches and 16 rows = 4” (10 cm) in half-double crochet.
This means that when you crochet a swatch with the recommended materials, your 15 stitches should measure exactly 4 inches wide, and 16 rows should be 4 inches tall.
But why does this matter? Because gauge directly affects your project’s size, shape, drape, and yarn consumption. If your gauge is off by even 1 stitch per 4 inches, a sweater could end up 6 inches too wide—enough to turn a fitted design into a tent.
Think of gauge like baking: if a cake recipe calls for 2 cups of flour, using 2½ cups won’t just make a “bigger” cake—it might collapse. In crochet, gauge is your recipe’s measurement standard.
2. When Gauge Really Matters (Hint: More Often Than You Think)
Many beginners assume gauge only matters for garments. “I’m just making a blanket,” they say. “Does it really matter if it’s a few inches bigger?”
Sometimes, yes! Here’s why:
- Yarn usage: If your stitches are looser than the pattern’s gauge, you’ll use more yarn—possibly running out before finishing. Tighter stitches use less yarn, but your project may end up too small or stiff.
- Fit and function: A beanie that’s too loose won’t stay on. A bag that’s too small won’t hold your essentials.
- Pattern integrity: Stitch patterns like lace, cables, or colorwork rely on precise proportions. If your gauge is off, the design may look distorted or uneven.
- Consistency: If you’re making matching items (like pillow covers or baby booties), gauge ensures they’re truly identical.
Real-life example: Maria made a dishcloth using a free pattern that called for worsted-weight yarn and a 5.0 mm hook. She preferred a tighter fabric, so she used a 4.0 mm hook without swatching. Her finished cloth was 6 inches instead of 8—and so stiff it scratched her dishes! A quick swatch would’ve saved the project.
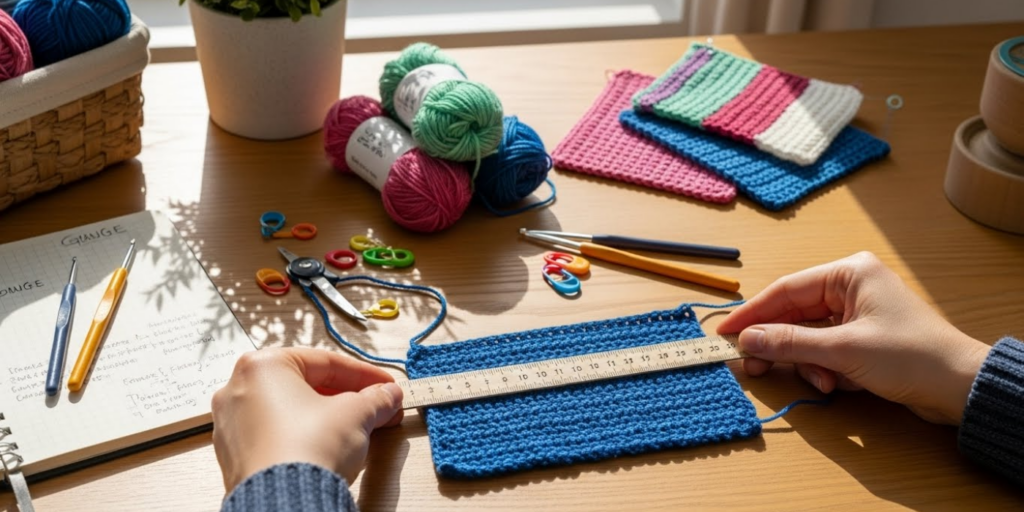
3. How to Make an Accurate Gauge Swatch (Step by Step)
Skipping the swatch is the #1 reason gauge fails. But not all swatches are created equal! A tiny 2-inch square won’t give you reliable data. Here’s how to do it right:
Step 1: Use the recommended yarn and hook
Even if you “usually” use a different size, start with what the pattern suggests.
Step 2: Crochet a swatch larger than 4×4 inches
Aim for at least 5×5 inches (13×13 cm). Why? Edge stitches tend to curl or distort. Measuring only the center gives you a truer reading.
Step 3: Use the stitch specified in the gauge
If the pattern says “gauge in single crochet,” don’t swatch in double crochet! Match the stitch exactly.
Step 4: Block your swatch (if the finished item will be blocked)
Wash and dry your swatch the same way you’ll treat the final project. Many yarns—especially wool or cotton—relax or stretch when washed. Measuring before blocking can mislead you.
Step 5: Measure correctly
- Lay your swatch flat on a hard surface.
- Use a rigid ruler or tape measure (not a flexible sewing tape).
- Count how many stitches fit into 4 inches horizontally—don’t assume it’s even! If it’s 14.5 stitches, that matters.
- Do the same vertically for rows.
✅ Pro Tip: Place pins or stitch markers at the 0” and 4” marks, then count the stitches between them. This is far more accurate than eyeballing.
4. What to Do If Your Gauge Is Off (And How to Fix It)
Don’t panic! Gauge is adjustable. Here’s how to troubleshoot:
🔹 Your swatch is too small (more stitches per inch than the pattern)
→ You’re crocheting too tightly.
Solution: Try a larger hook size. Go up 0.5 mm at a time (e.g., from 4.5 mm to 5.0 mm).
🔹 Your swatch is too large (fewer stitches per inch)
→ You’re crocheting too loosely.
Solution: Switch to a smaller hook. Again, adjust in 0.5 mm increments.
🔹 Your stitch count is right, but row count is off
This is common! Some people naturally crochet taller or shorter rows.
Solution: For garments, stitch gauge is more critical than row gauge, since you can usually add or subtract rows to reach the correct length. If row gauge is way off, try adjusting your hook size slightly or paying attention to your turning chain tension.
🔹 You’ve changed yarn
Even within the same weight category (e.g., “worsted”), yarns vary in fiber, twist, and loft. A cotton worsted behaves very differently than a wool-blend worsted.
Always swatch when substituting yarn!
🌟 Bonus Insight: Your mood, posture, or even the time of day can affect your tension! Swatch when you’re relaxed and in good light.
5. When You Can Skip Gauge (and When You Absolutely Can’t)
Let’s be honest—no one wants to swatch for a simple granny square blanket. So when is it truly optional?
✅ You can relax about gauge when:
- Making non-size-critical items: dishcloths, scarves (unless length matters), amigurumi, or freeform projects.
- Using your own design (you’re defining the gauge as you go).
- The pattern explicitly says “gauge is not critical.”
❌ Never skip gauge when:
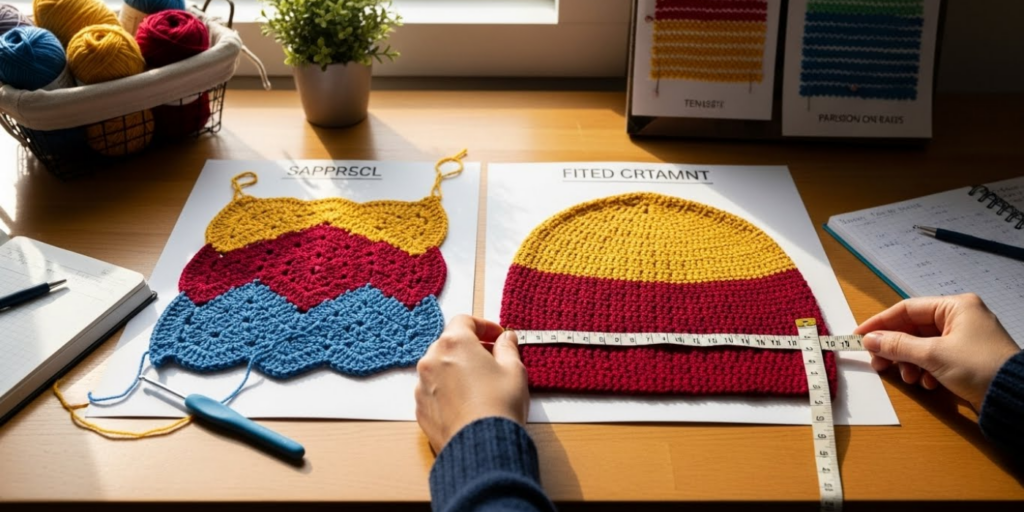
- Making wearable garments (sweaters, hats, socks, mittens).
- Working with expensive or limited-quantity yarn (you can’t afford to run out!).
- Following a complex pattern with shaping, colorwork, or precise motifs.
- The project must fit something (like a phone case, pillow insert, or baby garment).
Remember: Skipping gauge feels like saving time—but it often leads to hours of frogging (ripping out) or an unwearable finished object. A 15-minute swatch can save you days of frustration.
6. Advanced Tips for Perfect Gauge Every Time
Ready to level up? These pro strategies will make gauge second nature:
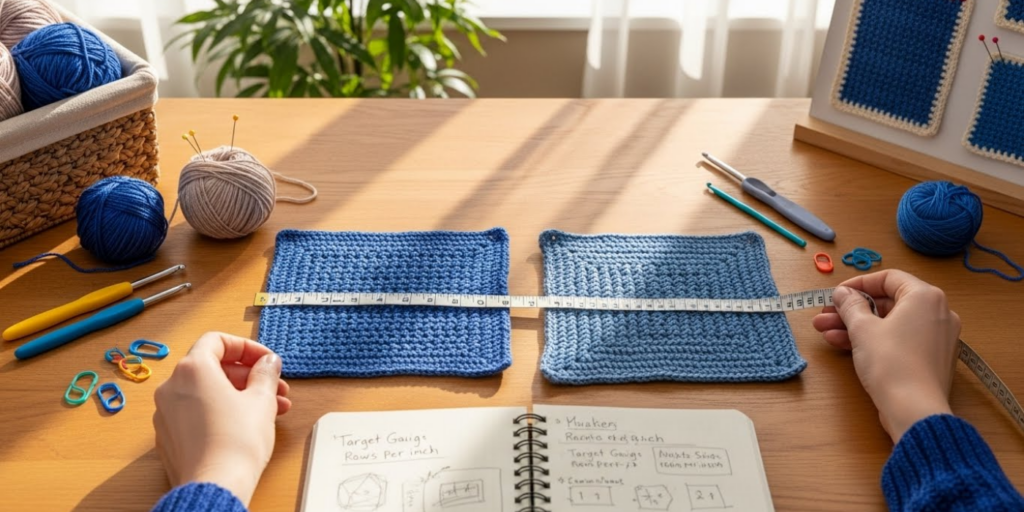
✅ Keep a swatch journal
Glue or pin your swatches into a notebook, and note:
- Yarn brand + color
- Hook size
- Washed/blocked?
- Final gauge
Over time, you’ll see patterns in your tension—and know your “default” settings for different yarns.
✅ Swatch in the round if your project is in the round
Gauge can differ between flat and circular crochet! If you’re making a hat or sweater yoke, swatch in a tube.
✅ Measure multiple areas
Check your gauge in 2–3 spots on the swatch. If it varies, your tension isn’t consistent—practice before starting the main project.
✅ Don’t stretch or squash the fabric
Measure your swatch as it naturally lies. Pulling it taut will give false readings.
✅ Re-swatch if you switch hooks mid-project
Even a 0.25 mm difference can add up over dozens of inches.
7. The Mindset Shift: Gauge Is Your Friend, Not Your Foe
Many crocheters dread gauge because they see it as a “test” they might fail. But reframe it: gauge is your ally. It’s the tool that bridges the gap between your hands and the designer’s vision.
Think of it like tuning a guitar before playing. You wouldn’t expect perfect harmony without checking your pitch first—why expect your crochet to “just work” without verifying your gauge?
Plus, swatching is a low-stakes creative space. It’s where you get to play with yarn, test drape, and fall in love with your materials before committing to a big project. Many crafters keep their favorite swatches as bookmarks or inspiration tiles!
Most importantly, gauge empowers you. Once you understand how your tension interacts with yarn and hooks, you can confidently adapt patterns, substitute materials, and design your own pieces with precision.
Conclusion: Swatch Now, Thank Yourself Later
Understanding crochet gauge isn’t about perfection—it’s about intentionality. It’s the difference between crossing your fingers and trusting your process. By taking a few extra minutes to check your gauge, you honor both your time and your craft.
So next time you start a new project—especially one where fit or size matters—resist the urge to dive right in. Make that swatch. Block it. Measure it. Adjust if needed. You’ll not only get better results, but you’ll also deepen your relationship with your craft.
Your future self (and your yarn stash) will thank you.
👉 Now it’s your turn: Have you ever skipped gauge and regretted it? Or nailed a project thanks to a perfect swatch? Share your story in the comments below! And if this guide helped you, pin it for later or share it with a fellow crocheter—because everyone deserves to make magic without the guesswork.
Remember: Great crochet isn’t just about the stitches you make—it’s about the care you put into every step. And that starts with knowing your gauge.

Maria Santos is a dedicated crochet and knitting enthusiast who finds joy in turning simple strands of yarn into meaningful, handmade art. With a natural eye for detail and a deep love for fiber crafts, she brings warmth, creativity, and years of personal experience to every project. Maria is inspired by the stories woven into each stitch and loves sharing that passion with others.


