You’ve spent hours—maybe even days—crocheting that perfect blanket, amigurumi, or cozy scarf. The stitches are even, the colors sing together, and you can feel the love woven into every loop. But when you snap a quick photo on your phone to share it online… it looks flat. Dull. Like it’s hiding in plain sight.
Here’s the truth: your crochet work deserves better than a blurry, poorly lit snapshot. In today’s world—where Instagram, Etsy, Pinterest, and even Facebook marketplaces are filled with handmade treasures—how you photograph your creations can make or break how people see their value. A stunning photo doesn’t just show off your skill—it tells a story, evokes emotion, and turns casual scrollers into eager buyers or loyal followers.
This article isn’t about expensive gear or professional studios. It’s about using what you already have—your phone, a window, a white sheet—to turn your crochet projects into visual magnets. Whether you’re selling your pieces, building a craft blog, or just want to proudly share your work with friends and family, these simple, practical photography tips will help your creations shine like they should.
We’ll walk through the four most powerful techniques: mastering natural light, choosing the right background and composition, styling your pieces to tell a story, and editing with confidence—no Photoshop degree required. By the end, you’ll see your crochet in a whole new way… and your photos will finally do it justice.
Light Is Your Secret Weapon (No Studio Needed)
Let’s get real: most of the time, your phone camera is better than you think. But if your photos look murky, washed out, or shadowy? The problem isn’t your phone—it’s the light.
Natural light is your best friend. Forget the harsh flash on your phone. That flat, white glare flattens texture, kills depth, and makes your beautiful stitches look like a mistake. Instead, find a spot near a window—preferably during the morning or late afternoon. That’s when sunlight is soft, golden, and gentle. Think of it like a giant, free softbox.
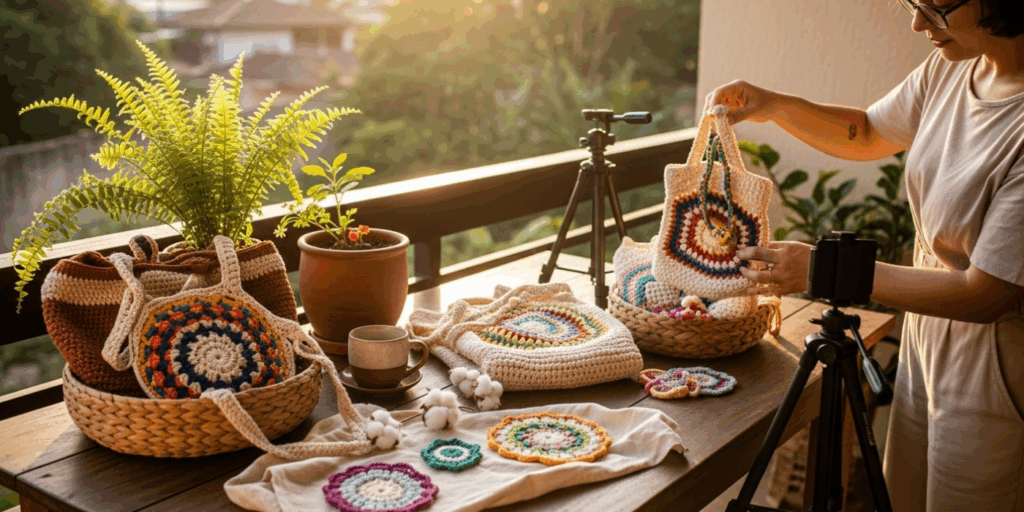
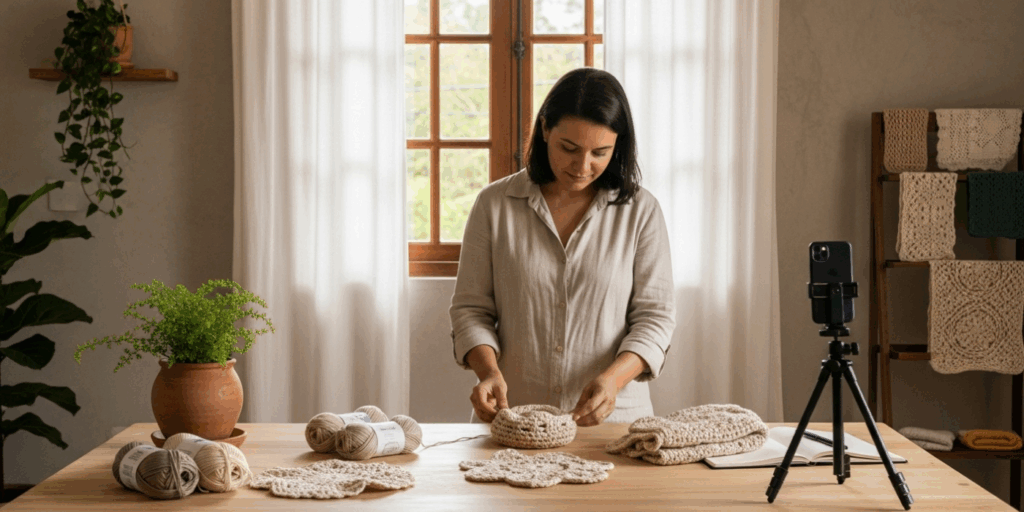
Try this: place your crochet piece on a table next to a large window. Turn so the light falls across it from the side—not directly overhead or behind. This creates gentle shadows that highlight the curves of your stitches, the fluff of a pom-pom, or the drape of a shawl. If you’re shooting a blanket, lay it out on the floor near the window and shoot from above. The light will caress every loop.
Pro tip: Cloudy days? Even better. Overcast skies act like a giant diffuser, scattering light evenly and eliminating harsh highlights. It’s like nature’s own photography filter.
I once photographed a crocheted baby hat under a harsh kitchen light. It looked like a lumpy sock. The next day, I moved it to my sunlit living room corner—same hat, same angle, same phone. The texture popped. The colors looked richer. The stitches looked intentional. That’s the power of good light.
You don’t need rings, LED panels, or reflectors (though they help). A simple white poster board or even a piece of printer paper held opposite the window can bounce light back onto the shadowed side of your project. It’s magic—and it costs $2.
Backgrounds and Composition: Less Is More
Here’s something most crafters don’t realize: your background isn’t just a backdrop—it’s part of the story.
A cluttered, busy background—think a messy desk, a tangle of yarn, or a patterned curtain—distracts from your crochet. Your piece becomes lost in the noise. The goal? Make your project the only thing the viewer’s eyes want to land on.
Simple backgrounds win every time. Try a plain white sheet, a neutral linen towel, a wooden cutting board, or even a clean bathroom tile. White is classic because it reflects light and lets color pop. But don’t be afraid of soft neutrals—beige, light gray, or even a muted sage green can add warmth without stealing focus.
Composition is about balance, not perfection. Try the “rule of thirds”: imagine your photo divided into a 3×3 grid. Place your crochet piece so it sits along one of those lines—or at an intersection point. For example, position a crocheted mug cozy so it’s slightly off-center, leaving space for negative space on the right. It feels intentional, not random.
Also, think about perspective. Don’t just shoot straight-on from above. Try:
- Overhead (90° angle): Perfect for blankets, placemats, or granny squares laid flat.
- Eye-level (45° angle): Great for hats, bags, or amigurumi. Makes them feel alive.
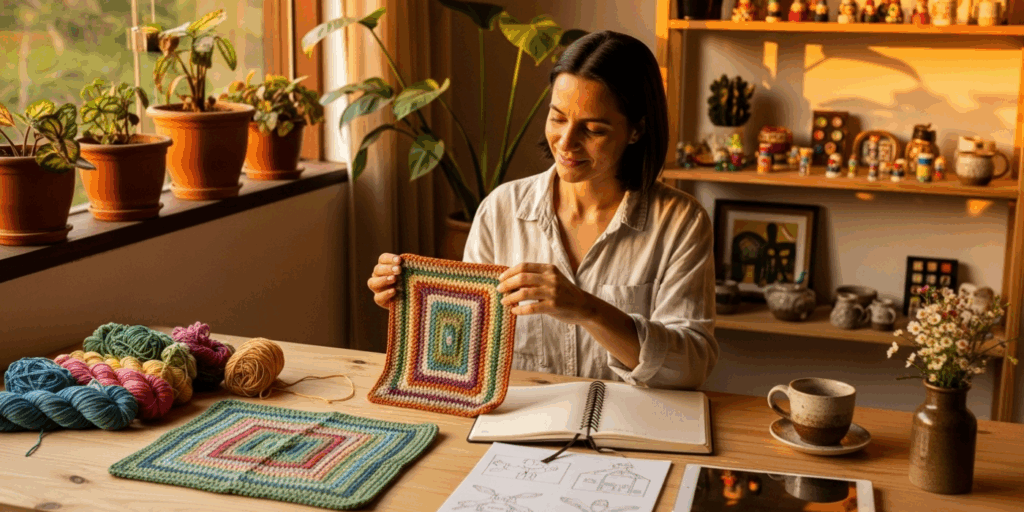
- Close-up details: Zoom in on a textured stitch pattern, a hand-knotted tassel, or the way yarn bleeds into a color gradient.
I remember a crocheter named Lena who posted a photo of her floral granny square blanket… on her bed, next to a pile of laundry. It got 12 likes. Two weeks later, she photographed the same blanket draped over a wooden bench, with a single cup of tea and a book beside it. 1,200 likes. Same blanket. Different context.
Your background isn’t just where you put your project—it’s the stage it performs on. Make it quiet. Make it elegant. Let your crochet be the star.
Styling: Turn Your Crochet Into a Moment
Here’s the secret most professional photographers know: people don’t buy crochet—they buy the feeling it represents.
A scarf isn’t just wool and stitches. It’s comfort on a cold morning. A blanket isn’t just yarn—it’s cozy nights, bedtime stories, or a gift from the heart.
So how do you show that? Style it.
Don’t just photograph the item in isolation. Show it in use. Drape a crocheted shawl over a chair where someone might sit. Place a handmade coaster next to a steaming mug. Snuggle your amigurumi bear with a child’s stuffed animal. Lay your crocheted baby booties beside a tiny pair of socks.
Even small details make a difference:
- A sprig of eucalyptus beside a lavender-scented shawl.
- A wooden spoon resting on a crocheted kitchen towel.
- A pair of reading glasses on top of a blanket.
These aren’t props—they’re emotional cues. They say, “This belongs in a life.”
And don’t forget texture contrast. Crochet is soft, fluffy, and tactile. Pair it with something smooth and cool—like ceramic, glass, or metal. A crocheted bowl on a marble countertop? Magic. A chunky hat resting on a leather journal? Instant warmth.
One of my favorite examples? A crocheted flower crown photographed on a sunlit windowsill, with dewdrops still clinging to real flowers beside it. The mix of handmade and natural created a dreamy, poetic image that went viral on Pinterest.
You don’t need fancy props. Use what’s already in your home: books, plants, mugs, scarves, baskets. Think: What does this piece make you feel? Then, find one object that echoes that feeling.
Remember: styling isn’t about perfection. It’s about authenticity. A slightly wrinkled blanket? A crookedly placed cup? That’s real. That’s relatable. That’s human.
Editing: Simple Fixes, Big Impact
You’ve taken the photo. The light is perfect. The background is clean. The styling? On point. But something still feels… off?
That’s where editing comes in.
And no—you don’t need Adobe Photoshop. Your phone has everything you need.
Start with the brightness and contrast. Most phones have an “Edit” option after you take a photo. Gently increase brightness if it’s too dark. Boost contrast just a little to make the stitches stand out. But don’t overdo it—you want natural, not cartoonish.
Next, tweak the white balance. If your photo looks too yellow or too blue, adjust the temperature. Aim for neutral whites—your cream yarn shouldn’t look like old milk.
Then, crop. If your background has a distracting corner or your piece is too small in the frame, crop in. Tighten the composition. Remove clutter. Let your crochet breathe.
Try this free app: Snapseed (free on iOS and Android). It’s simple, powerful, and has a “Healing” tool to remove tiny dust specks or lint. Use the “Selective Adjust” tool to brighten just your crochet piece—without affecting the background.
Here’s a pro move: slightly increase saturation (but only by 5–10%). Crochet yarns are often vibrant, and a tiny boost can make them sing. But if your pink yarn suddenly looks like a neon sign? You’ve gone too far.
I once edited a photo of a crocheted tote bag so much it looked like it was made of plastic. My friend said, “It looks like a prop from a sci-fi movie.” I laughed—and learned my lesson. Subtlety wins.
Editing isn’t about changing your work. It’s about revealing it.
And here’s the final rule: always save your original. Keep the unedited version. That way, if you change your mind later, you’re not stuck with an over-processed mess.
Your Crochet Has a Story—Let It Be Seen
Let’s take a breath and reflect.
Every stitch you make carries time, patience, and care. But in a world where everything moves fast—where scrolling replaces staring, and likes replace conversation—your crochet needs to stop the scroll.
That’s why photography matters.
It’s not about having the fanciest camera or the most followers. It’s about honoring your craft. When you take the time to photograph your work well, you’re saying: This matters. I matter.
You’re not just sharing a photo. You’re inviting someone into your creative world.
Maybe it’s a mom who sees your baby blanket and remembers her own grandmother crocheting for her. Maybe it’s a new crafter who sees your photo and thinks, “I can do that too.” Maybe it’s someone who’s having a hard day, and your cozy scarf photo gives them a moment of calm.
That’s the real power here.
So next time you finish a project, don’t rush to post it. Pause. Find the window. Clear the clutter. Style it gently. Adjust the light. Edit with care.
Then—post it proudly.
Because your crochet isn’t just yarn and hooks. It’s memory. It’s warmth. It’s love made visible.
And it deserves to be seen—not just glanced at, but felt.
Your Turn: Start Today
You don’t need to wait for “perfect conditions.” You don’t need to buy new gear. You don’t need to be an expert.
All you need is one good photo.
So here’s your challenge: This afternoon, pick one crochet piece you’re proud of. Find a window. Set up a simple background. Take three photos: one overhead, one at eye level, one with a small prop. Pick your favorite. Edit it lightly. Post it.
Tag me if you’re on Instagram—I’d love to see your work. Or better yet, leave a comment below: What’s the one crochet project you’ve always wanted to photograph beautifully?
And if this helped you—even just a little—share it with another maker. Because the world needs more handmade beauty. And it starts with a single, well-lit photo.
Your hands made this. Now let your camera help the world see it.

Maria Santos is a dedicated crochet and knitting enthusiast who finds joy in turning simple strands of yarn into meaningful, handmade art. With a natural eye for detail and a deep love for fiber crafts, she brings warmth, creativity, and years of personal experience to every project. Maria is inspired by the stories woven into each stitch and loves sharing that passion with others.


