Ever watched a seasoned crocheter’s hands fly across their project—stitches perfectly even, rhythm steady, expression relaxed—and thought, “How do they make it look so effortless?”
Here’s a little secret: it’s not magic—it’s technique. And one of the most powerful (yet often overlooked) foundations of smooth, comfortable, and consistent crocheting is how you hold your hook and yarn.
Many beginners—and even longtime crafters—struggle with uneven tension, hand fatigue, or slow progress simply because their grip isn’t working with their body. The good news? With a few mindful adjustments, you can transform your crocheting experience from frustrating to fluid.
In this guide, you’ll discover the two main ways to hold a crochet hook, learn how to manage yarn tension like a pro, avoid common mistakes that lead to pain or sloppy stitches, and—most importantly—find the method that feels natural for you. Because when your hands are relaxed and your tools are working in harmony, your projects flow faster, look better, and bring you more joy.
Ready to crochet like the confident, capable maker you are? Let’s get started.
1. Why Your Hook Grip Is a Game-Changer
Before we dive into how to hold your hook, let’s talk about why it matters so much.
Your grip directly influences:
- Stitch tension (tight, loose, or just right?)
- Hand fatigue (aching fingers after 10 minutes?)
- Speed and rhythm (choppy or smooth?)
- Project consistency (wavy edges or clean lines?)
Think of your hook like a paintbrush. An artist doesn’t death-grip their brush—they hold it lightly, with control, allowing subtle wrist movements to create flow. Crocheting is no different. A tense, rigid grip leads to stiff stitches and tired muscles. A relaxed, ergonomic hold lets your hand move with ease and precision.
Fun fact: A 2022 survey by the Craft Yarn Council found that over 60% of beginner crocheters report hand or wrist discomfort within their first month—often due to poor grip technique, not lack of skill.
The fix? Awareness and adjustment. Let’s explore the two most common—and effective—ways to hold your hook.
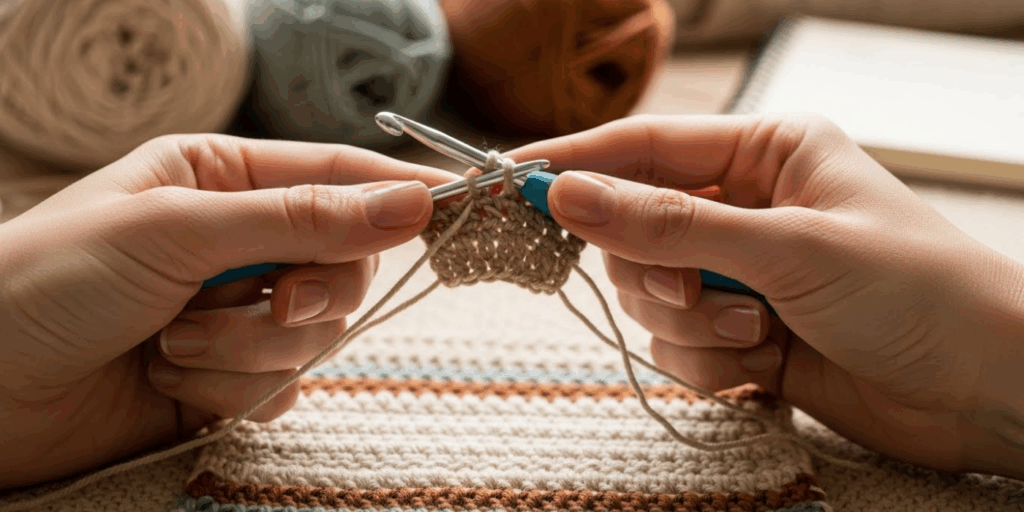
2. The Pencil Grip: Precision and Control

The pencil grip (also called the “overhand” or “pen” grip) is exactly what it sounds like: you hold your crochet hook like a pencil when writing.
Here’s how to do it:
- Rest the hook between your thumb and index finger.
- Let the shaft rest gently on your middle finger.
- Keep your wrist straight or slightly bent downward.
- Your palm faces the floor.
This grip is especially popular among:
- Beginners (it feels familiar)
- Crocheters working with fine yarns or small hooks (steel hooks, sizes B–E)
- Those doing detailed work like amigurumi, lace, or colorwork
Why it works:
The pencil grip gives you excellent control over the hook tip, making it easier to insert into tight stitches or work intricate patterns. It’s ideal when you need to see exactly where your hook is going.
Watch out for:
- Gripping too tightly (a common habit when learning)
- Raising your elbow or shoulder (creates tension)
- Overusing finger muscles instead of wrist motion
Pro tip: Try resting your pinky or the side of your hand on your work for extra stability. This reduces hovering and fatigue.
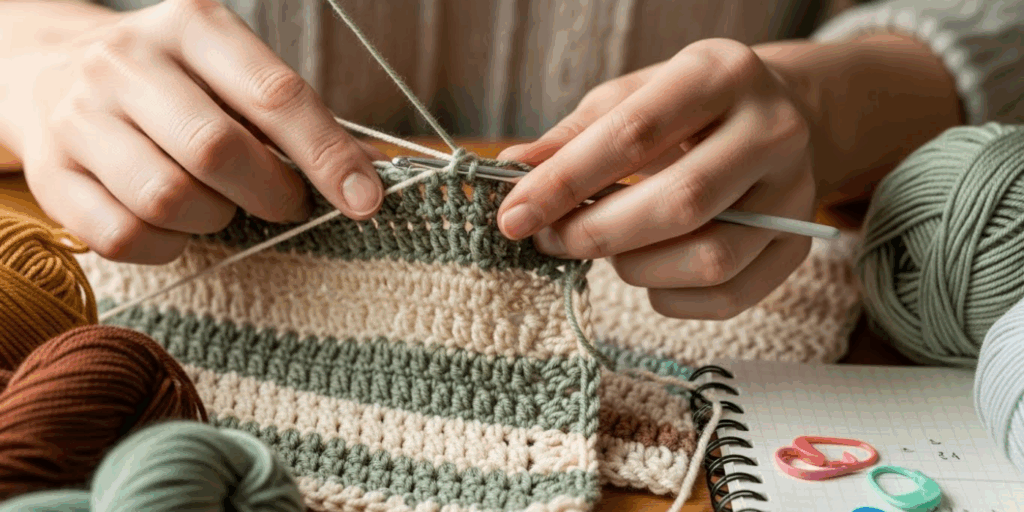
3. The Knife Grip: Comfort for Long Sessions
Now meet the knife grip (also called the “underhand” or “knife-and-fork” hold). Here, you hold the hook like a dinner knife when cutting food—palm facing inward, hook resting in your hand.
To try it:
- Slide the hook into your palm.
- Place your thumb on top of the hook for control.
- Use your index finger to guide the tip.
- Your wrist bends gently inward.
This grip shines when:
- Making large projects (blankets, sweaters, scarves)
- Using larger hooks (size F/3.75mm and up)
- Crocheting for extended periods
Why it works:
The knife grip engages larger hand and forearm muscles, reducing strain on your fingers. Many crocheters find it more relaxed and faster once they get used to it. It also naturally encourages looser, more even tension—perfect for garments that need drape.
Watch out for:
- Letting the hook slip if your hand gets sweaty
- Over-rotating your wrist (can cause strain)
- Feeling “clumsy” at first (it takes practice!)
Pro tip: Wrap the hook handle with a rubber grip or use an ergonomic hook (like Clover Amour) to prevent slipping and add cushioning.
4. Finding Your “Sweet Spot”: It’s Personal!
Here’s the truth: there’s no single “correct” way to hold your hook. The “best” grip is the one that lets you crochet comfortably, consistently, and without pain.
Many pros actually switch between grips depending on the project! They might use the pencil grip for a delicate lace shawl and the knife grip for a chunky blanket.
Try this experiment:
Crochet 5 rows using the pencil grip. Then switch to the knife grip for 5 more rows. Ask yourself:
- Which felt more natural?
- Which gave you more even stitches?
- Which caused less hand fatigue?
Don’t rush to decide. Give each style a fair chance over a few days. Your ideal grip might even be a hybrid—perhaps your index finger rests differently, or your thumb provides more support. That’s okay! Your hands are unique—your technique should be too.
5. Mastering Yarn Tension: The Secret to Perfect Stitches
Now, let’s talk about the other half of the equation: your yarn hand.
Uneven tension is the #1 reason for wobbly edges, distorted shapes, and “why does this look nothing like the photo?!” frustration. The fix? Controlled, consistent yarn feed—and that starts with how you guide the yarn with your non-hook hand.
The Standard Tension Technique (Great for Beginners)
- Drape the yarn over your pinky (from back to front).
- Weave it under your ring finger, then over your middle finger.
- Pinch the working yarn lightly between your thumb and index finger near the hook.
This creates a gentle “brake” system. When you need yarn, relax your fingers slightly. When you need to tighten, apply soft pressure with your thumb.
Alternative Methods (Because One Size Doesn’t Fit All)
- Index Finger Wrap: Simply loop the yarn once around your index finger. Great for looser tension.
- Two-Finger Pinch: Hold yarn between middle and index fingers—ideal for slippery yarns like silk or bamboo.
- Yarn Guide Ring: A small metal or silicone ring that slides onto your finger to maintain tension without finger fatigue.
💡 Test your tension: Your stitches should glide onto the hook smoothly—not stretch tight like a rubber band, nor hang loose like a hammock. When you pull a stitch through, it should feel effortless.
6. Common Mistakes (and How to Fix Them Fast)
Even experienced crocheters fall into bad habits. Here are the top three—and how to break free:
Mistake #1: The Death Grip
You’re holding your hook like you’re afraid it’ll escape.
✅ Fix: Hold it just firmly enough to control it. Imagine you’re holding a baby bird—gentle but secure. Set a phone reminder to “check your grip” every 10 minutes until it becomes automatic.
Mistake #2: Letting Yarn Run Wild
Feeding yarn straight from the skein with no tension control.
✅ Fix: Always wind your yarn into a ball or cake first. Then use your yarn hand to guide it. Even a single loop around your index finger makes a huge difference.
Mistake #3: Ignoring Pain
“Pushing through” wrist or finger pain.
✅ Fix: Stop. Stretch. Adjust. Crocheting should never hurt. If it does, your grip, posture, or tools need tweaking—not your willpower.
7. Pro Tips to Level Up Your Comfort & Control
Ready to go beyond the basics? These subtle upgrades can make a big difference:
- Use ergonomic hooks: Brands like Furls, Clover Amour, or Pony Comfort have soft, contoured handles that reduce pressure points—especially helpful for arthritis or weak grip.
- Match hook size to yarn weight: Using a tiny hook with bulky yarn forces you to pull too hard. Check the yarn label for recommended hook sizes.
- Practice “air crocheting”: Without yarn, mimic the motions of your chosen grip for 2 minutes a day. This builds muscle memory without strain.
- Film yourself: Record a short video of your hands while crocheting. You’ll instantly spot tension, awkward angles, or inefficient movements.
- Stretch before and after: Simple hand stretches (like finger spreads and wrist circles) improve circulation and prevent stiffness.
8. Embrace Your Unique Style
Here’s the most liberating truth: professional crocheters don’t all hold their hooks the same way. Some use their pinky to stabilize. Others rest their elbow on a table. A few even crochet “backward” or with custom grips.
What matters isn’t how it looks—it’s how it works for you.
Your goal isn’t to mimic someone else perfectly. It’s to develop a technique that:
- Keeps your hands pain-free
- Creates even, consistent stitches
- Lets you lose yourself in the joy of making
So give yourself grace. Experiment. Adjust. Celebrate small improvements.
Conclusion: Crochet with Confidence, Comfort, and Joy
You now know the two main ways to hold your crochet hook, how to manage yarn tension like a seasoned maker, and practical fixes for the most common pitfalls. But more importantly, you’ve been reminded that crocheting is meant to be a joyful, sustainable craft—not a source of pain or frustration.
Your hands are your creative partners. Treat them well. Find a grip that supports your natural movement. Tweak your yarn tension until your stitches flow like music. And remember: progress isn’t about perfection—it’s about comfort, consistency, and connection to your craft.
So pick up your hook right now and try one small adjustment—maybe a looser grip, a new finger wrap, or a 30-second hand stretch. Notice how it feels. Watch how your stitches respond.
And if you’ve discovered a grip trick that changed your crocheting life, share it in the comments below! The crafting community grows stronger when we lift each other up with real, tested wisdom.
Happy crocheting—you’ve got this! 🧶✨

Maria Santos is a dedicated crochet and knitting enthusiast who finds joy in turning simple strands of yarn into meaningful, handmade art. With a natural eye for detail and a deep love for fiber crafts, she brings warmth, creativity, and years of personal experience to every project. Maria is inspired by the stories woven into each stitch and loves sharing that passion with others.


