You’ve just found the perfect crochet pattern online—adorable baby booties, a cozy cowl, or maybe your first amigurumi fox. You grab your hook and yarn, ready to create… and then you see it:
“Rnd 1: MR, ch 2, 12 dc in ring, sl st to first dc. (12 sts)”
Wait… what? If your heart just sank a little, you’re not alone. For beginners, crochet patterns can look like a secret code written in abbreviations, symbols, and mysterious instructions. But here’s the good news: this language isn’t meant to confuse you—it’s designed to make patterns shorter, clearer, and universal.
Once you learn the basics, you’ll read patterns like a pro and feel confident tackling any project. In this guide, we’ll walk you through the most common U.S. crochet abbreviations, decode punctuation like asterisks and parentheses, explain the difference between U.S. and U.K. terms (a classic source of confusion!), and even introduce you to stitch charts—the “emoji language” of crochet.
By the end, you’ll not only understand what “sc2tog” means—you’ll know how to use it. Let’s turn that pattern from puzzling to empowering!
Why Crochet Patterns Use Abbreviations (And Why You’ll Love Them)
Imagine if every pattern spelled everything out:
“Make a chain stitch. Now make another chain stitch. Now make a third chain stitch…”
You’d be halfway through your coffee before finishing the first row!
Abbreviations solve this by saving space and reducing repetition. Instead of long sentences, you get clean, consistent instructions that experienced crocheters can scan quickly. Even better, the Craft Yarn Council (CYC) standardized these terms across the U.S., so “dc” means the same thing whether you’re using a Red Heart pattern or a free blog tutorial.
Think of it like texting: You don’t write “laughing out loud”—you type “LOL.” In crochet, you don’t write “single crochet,” you write “sc.” It’s efficient, and once you know the “acronyms,” it’s second nature.
Plus, understanding abbreviations gives you creative freedom. You can mix and match stitch patterns, customize sizes, and even design your own projects.
The Essential U.S. Crochet Abbreviations Every Beginner Needs

Start with these 12 core terms—they appear in almost every pattern:
- ch = chain
- sl st = slip stitch
- sc = single crochet
- hdc = half double crochet
- dc = double crochet
- tr = treble (or triple) crochet
- st(s) = stitch(es)
- sp(s) = space(s)
- yo = yarn over
- rep = repeat
- rnd(s) = round(s)
- RS / WS = Right Side / Wrong Side
Pro Tip: Keep a printed cheat sheet in your project bag (many free ones are available online). Within a few projects, you won’t need it!
Real Example:
“Ch 10. Sc in 2nd ch from hook and in each ch across.”
Translation: Make a chain of 10 stitches. Skip the first chain (the one closest to your hook), then work 1 single crochet into each of the remaining 9 chains. You’ll end with 9 sc stitches.
Notice how the abbreviation makes it concise? Now imagine that in full sentences—see the difference?
Decoding Pattern Punctuation: Asterisks, Parentheses & Brackets
Patterns use punctuation to avoid repeating instructions. Here’s what those symbols mean:
🌟 Asterisks (*) = Repeat Section
Everything between the asterisk and the instruction “rep from *” gets repeated.
Example: Sc, hdc, dc; rep from * to end.
→ Work sc, hdc, dc, then repeat that exact sequence until you reach the end of the row.
📌 Parentheses ( ) = Grouping or Stitch Count
Two common uses:
- Grouped stitches: (2 dc, ch 1, 2 dc) in next ch-2 sp
→ Work all five actions into the same chain-2 space. - Stitch count: Work 12 sc (12 sts)
→ You should have 12 stitches total after this row. Always check this!
🧩 Brackets [ ] = Nested Repeats or Special Instructions
Often used for larger repeats or when parentheses are already in use.
Example: [Ch 3, sk 2 sts, dc] 5 times
→ Repeat the entire sequence inside the brackets five times.
Common Mistake: Beginners often skip the “sk” (skip) or miscount repeats. Slow down and count your stitches after each row—it’s your safety net!
Reading Rows vs. Rounds: Flat vs. In-the-Round Projects
How a pattern is structured depends on whether you’re making a flat piece (like a scarf) or a tube (like a hat or basket).
📏 Flat Patterns (Rows)
- Work back and forth, turning your work at the end of each row.
- Labeled as “Row 1 (RS),” “Row 2 (WS),” etc.
- You’ll often start with a “turning chain” (e.g., ch 1 for sc, ch 3 for dc) to reach the height of the next row.
🔁 In-the-Round Patterns
- Work continuously in a spiral or joined circles—no turning.
- Labeled as “Rnd 1,” “Rnd 2,” etc.
- May begin with a magic ring (MR) or a chain circle.
- Some patterns join with a slip stitch at the end of each round; others are spiral (no join). The pattern will specify!
Why it matters: Turning vs. not turning affects how your fabric looks and whether your stripes line up. Always follow the pattern’s lead!
U.S. vs. U.K. Crochet Terms: Avoiding Costly Confusion
This is critical—and the #1 reason beginners end up with projects that are too big, too small, or just plain wrong. The U.S. and U.K. use the same abbreviations for different stitches.
For example:
- U.S. “single crochet (sc)” = U.K. “double crochet (dc)”
- U.S. “double crochet (dc)” = U.K. “treble crochet (tr)”
There’s no “single crochet” in U.K. terms—they start counting from double!
How to tell the difference:
✅ Look for “sc” in the pattern—if it’s there, it’s U.S. terms.
✅ Check the source: U.S. yarn brands (Lion Brand, Red Heart), Ravelry (filter by U.S. terms), and most American blogs use U.S. standards.
✅ When in doubt, check the gauge swatch or look for a note like “Written in U.S. crochet terms.”
Safety tip: If you accidentally use U.K. instructions with U.S. technique, your “dc” will actually be a U.K. “tr”—making your fabric much looser and larger than intended. Always confirm before you start!
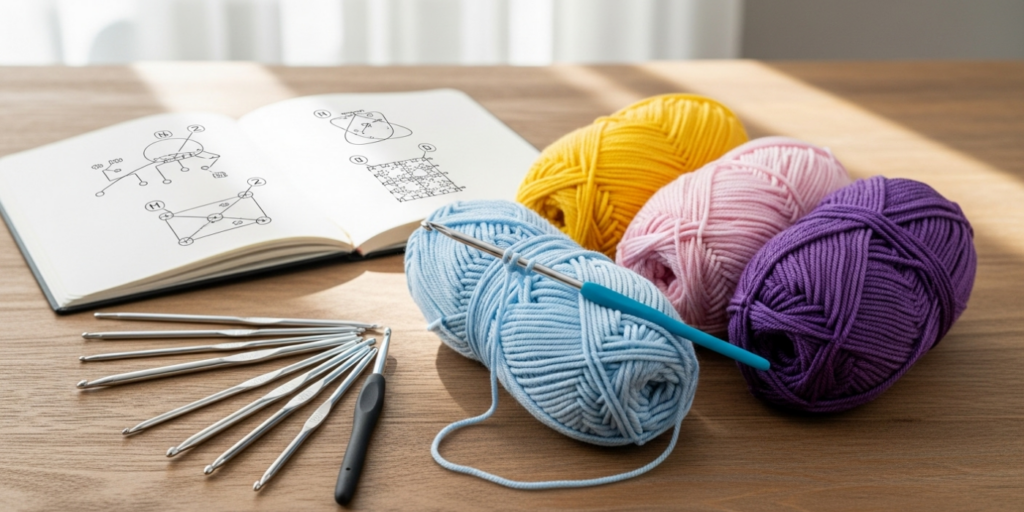
Intro to Stitch Charts: When Pictures Replace Words
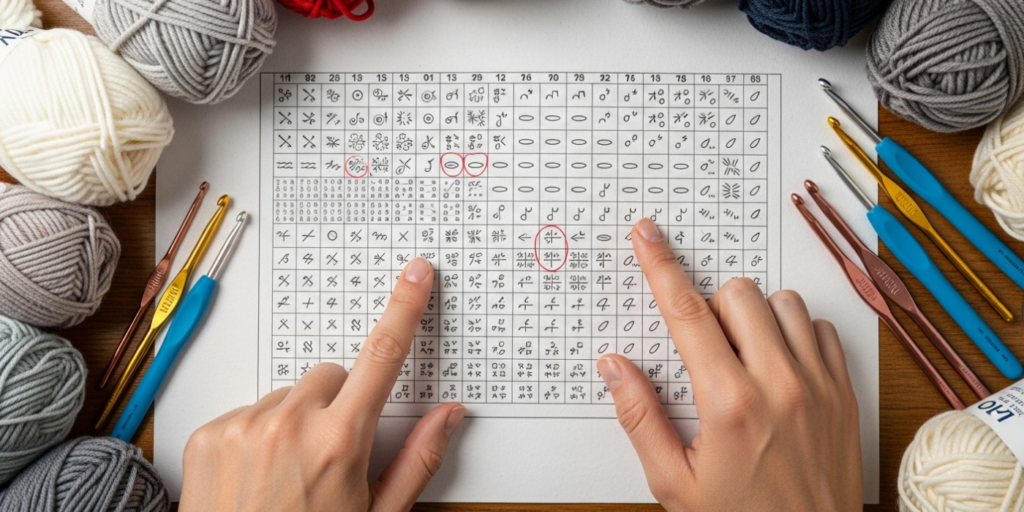
Some patterns—especially for lace, colorwork, or complex motifs—use stitch diagrams instead of (or alongside) written instructions. These charts use standardized symbols that are the same worldwide:
- ○ = chain stitch
- □ = single crochet
- △ = double crochet
- 🌀 = treble crochet
- — = slip stitch
- • = stitch marker or special stitch
Each symbol is drawn to scale, showing exactly how stitches sit relative to one another. Rows are usually numbered from bottom to top; rounds spiral outward from the center.
Don’t panic! Start small:
- Try a basic granny square chart.
- Watch a YouTube tutorial on reading charts.
- Use apps like Stitch Fiddle to practice.
Why charts rock: They’re language-neutral—perfect if English isn’t your first language. Plus, visual learners often “see” the pattern more clearly than they can read it.
5 Practical Tips to Master Abbreviations Faster
- Practice with a “cheat project”: Make a simple washcloth using only sc, hdc, and dc. Read the pattern out loud as you go.
- Highlight as you go: Use a highlighter or sticky note to mark your place in complex repeats.
- Watch video tutorials: Seeing someone say “yo, pull through two loops” while doing it helps cement the terms.
- Keep a personal glossary: Jot down new abbreviations (like “bps” for back post stitch) in a notebook or phone note.
- Join a crochet group: Ravelry forums or Facebook groups are full of people who’ve been exactly where you are.
Remember: Even expert crocheters double-check abbreviations. There’s zero shame in looking things up!
Common Pitfalls (And How to Bounce Back)
- Skipping the “Notes” section: Designers often explain special techniques or clarify terms there. Always read it first!
- Assuming all “dc” are the same: Some patterns use “front post dc” (fpdc) or “cluster dc”—check for modifiers.
- Ignoring gauge: Abbreviations tell you how to stitch, but gauge ensures your project is the right size. Always swatch!
- Rushing through repeats: Misreading “rep from * 3 times” as “rep 3 sts” is a classic error. Slow down on punctuation.
Real-life story: A beginner once asked why her baby blanket was 6 feet long—it turned out she’d worked “ch 3, dc in next st” across, but the pattern said “(ch 3, skip 2 sts, dc in next st)”—she’d missed the skip! Punctuation matters.
Why This Skill Opens Doors to Creative Freedom
Once you’re fluent in crochet abbreviations, the crafting world opens wide. You’ll be able to:
- Follow any designer pattern on Ravelry or Etsy
- Customize stitch counts to fit your needs
- Join global crochet-alongs (CALs) with confidence
- Even write your own patterns someday!
More than that, you’ll join a worldwide community that speaks this quiet, beautiful language of loops and yarn. Every “sc” and “ch” is a word in a story you’re creating with your hands.
Conclusion: You’ve Got This—One Stitch at a Time
Crochet abbreviations might seem intimidating at first, but they’re simply tools to make your crafting journey smoother, faster, and more enjoyable. By mastering the core U.S. terms, understanding pattern structure, and staying aware of U.K. differences, you’ll eliminate frustration and unlock endless creative possibilities.
Remember: every expert crocheter was once a beginner staring at “ch-2 sp” in confusion. What separates them isn’t talent—it’s persistence and the willingness to learn the language of their craft.
So grab your hook, your favorite yarn, and a simple pattern. Use this guide as your reference, and don’t be afraid to go slow. With each row, you’re not just making stitches—you’re building confidence.
Now we’d love to hear from you: What’s the first abbreviation you learned? Or which one still trips you up? Share your story in the comments below—your question might be the key to someone else’s “aha!” moment. Happy crocheting! 🧶

Maria Santos is a dedicated crochet and knitting enthusiast who finds joy in turning simple strands of yarn into meaningful, handmade art. With a natural eye for detail and a deep love for fiber crafts, she brings warmth, creativity, and years of personal experience to every project. Maria is inspired by the stories woven into each stitch and loves sharing that passion with others.


