Have you ever seen a crocheted piece that looks like it’s made of interlocking diamonds or woven fabric—but was created with just one hook and a single ball of yarn? That’s the mesmerizing magic of crochet entrelac.
Often mistaken for knitting or actual weaving, entrelac crochet produces a rich, textured fabric that mimics basketweave or patchwork—but with seamless flow and surprising rhythm once you understand its structure. It’s bold, modern, and full of dimension, making it a standout choice for scarves, blankets, bags, and even fashion-forward garments.
If you’ve been crocheting for a while and are ready to elevate your skills with a technique that looks intricate but is deeply satisfying to master, entrelac is your next creative frontier.
In this guide, we’ll demystify crochet entrelac: where it comes from, how it works, and—most importantly—how you can start creating your own stunning entrelac projects with confidence. Whether you’re drawn to its visual drama or its meditative repetition, you’ll walk away with everything you need to begin.
Let’s dive into the world of interlocking stitches, dynamic diagonals, and fabric that truly moves.
1. What Is Entrelac Crochet? A Fusion of Structure and Art
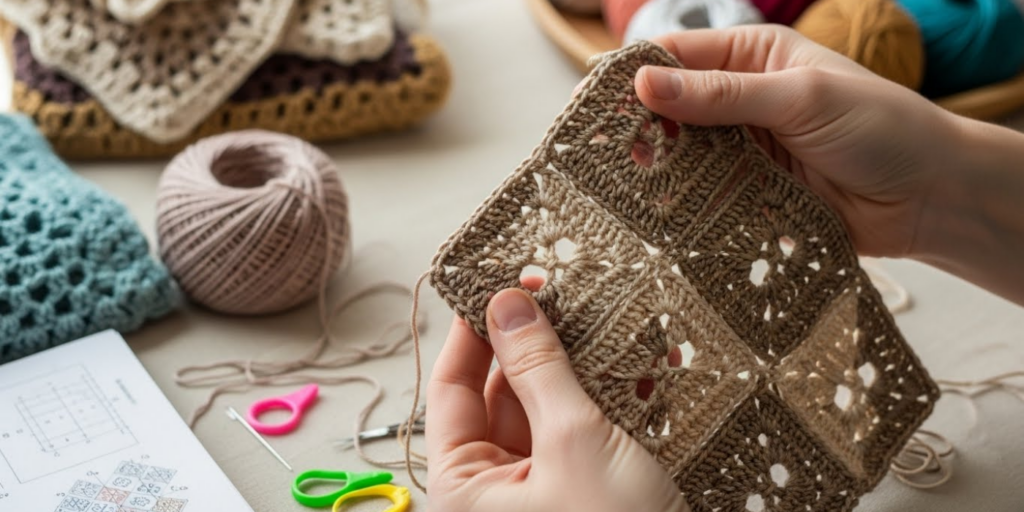
At first glance, entrelac looks like a mosaic of small squares or triangles stitched together. But unlike patchwork, entrelac is worked continuously in one piece, without cutting yarn (unless changing colors).
The technique builds interconnected blocks diagonally, row by row, creating a fabric with pronounced texture and visual depth. Each “square” is actually a series of short rows worked back and forth, then joined to the previous section as you go.
Origins:
While entrelac is often associated with knitting (where it gained popularity in the 1980s), crocheters quickly adapted it—and with great success. The flexibility of crochet stitches allows for even more dramatic texture and drape than its knitted counterpart.
Why it’s special:
- Creates an illusion of woven fabric without a loom;
- Adds movement and dimension to even the simplest yarns;
- Works beautifully in solid colors (highlighting texture) or stripes (amplifying geometric impact);
- Is surprisingly reversible, with a clean, structured back side.
Fun fact: The word entrelac comes from French, meaning “interlaced” or “interwoven”—a perfect description of the final fabric.
2. Why Try Entrelac? Beyond the “Wow” Factor
Sure, entrelac looks impressive. But its real value goes far beyond aesthetics.
A. It’s a Skill-Builder
Entrelac requires you to work short rows, pick up stitches along edges, and manage direction changes—all excellent practice for advanced techniques like garment shaping or modular design.
B. It Hides Minor Tension Issues
The strong geometric pattern naturally camouflages small inconsistencies in tension. If your stitches aren’t perfectly even, the texture covers it up—making entrelac forgiving for intermediate crocheters.
C. Endless Creative Potential
Once you master the basic block, you can:
- Play with color sequences (ombre, stripes, or random pops);
- Mix yarn weights for added contrast;
- Shape garments like cowls, vests, or even sweaters using entrelac panels.
D. Therapeutic Rhythm
Many crocheters describe entrelac as “meditative.” The repetitive nature of building blocks—one after another—creates a calming, almost puzzle-like flow that’s perfect for unwinding after a long day.
As one designer put it: “Entrelac isn’t just a stitch pattern—it’s a conversation between your hook and the fabric.”
3. Getting Started: Materials and Mindset
You don’t need fancy tools to begin—just the right mindset and a few smart choices.
Yarn Selection
- Best for beginners: Smooth, medium-weight (worsted/aran, #4) yarn in a solid or semi-solid color. This lets you clearly see stitch placement and block edges.
- Avoid: Very dark, fuzzy, or slippery yarns (like silk or bamboo) until you’re confident in your technique.
- Great options: Red Heart Super Saver, Lion Brand Basic Stitch, or Cascade 220.
Hook Choice
- Use the hook size recommended on your yarn label, or go one size larger for a more flexible, drapey fabric.
- A comfortable ergonomic hook helps, as entrelac involves frequent turning and working in tight spaces.
Extras That Help
- Stitch markers (to mark block beginnings and endings);
- Tapestry needle (for weaving in ends if changing colors);
- Row counter (optional but helpful for tracking block rows).
Most importantly: Be patient. Your first entrelac swatch might feel awkward—but every block gets easier as your muscle memory kicks in.
4. Understanding the Entrelac Structure: Base Triangles, Squares, and Side Triangles
Entrelac fabric is built in three repeating phases:
Phase 1: Base Triangles
These form the foundation. You crochet a series of small right triangles along your foundation chain. Each triangle is made with increasing short rows (e.g., 1 dc, 2 dc, 3 dc…).
Tip: Keep your foundation chain loose—tight chains make picking up stitches along the edge nearly impossible later.
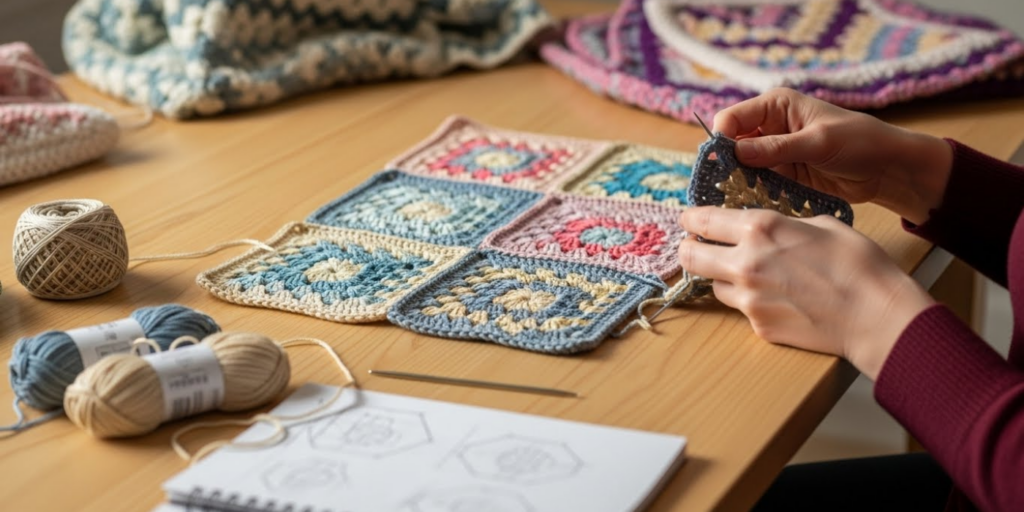
Phase 2: Squares (or Rectangles)
Once the base is set, you work squares upward, picking up stitches along the edge of the previous triangle. Each square is worked in short rows, then joined to the square beside it as you go.
Key move: The “join-as-you-go” technique—where you slip stitch into the adjacent square on the last stitch of each row—creates seamless integration.
Phase 3: Side Triangles
At the end of a row of squares, you add decreasing triangles to create a straight edge. These mirror the base triangles but in reverse.
Visual analogy: Think of building a brick wall where each “brick” is a square, and the “mortar joints” are the diagonal lines between them—except here, the bricks are crocheted one by one, connected as you go.
Don’t panic: Most patterns include clear diagrams or video links. Start with a small swatch (4–6 base triangles) to practice the flow before committing to a full project.
5. Step-by-Step: Your First Entrelac Swatch (Simplified)
Let’s walk through a mini version using double crochet (dc):
Materials: Worsted yarn, 5.5mm hook, scissors.
Step 1: Foundation Chain
Chain a multiple of your block width (e.g., 4 chains per triangle × 5 triangles = 20 chains).
Step 2: Base Triangles
- Row 1: Dc in 4th ch from hook and next 3 chs (4 dc). Turn.
- Row 2: Ch 3 (counts as dc), dc in next 3 sts, 2 dc in last st (6 dc). Turn.
- Row 3: Ch 3, dc in next 5 sts, 2 dc in last st (8 dc).
- Repeat until triangle is complete (usually 6–8 rows).
Repeat this process for each base triangle across the chain.
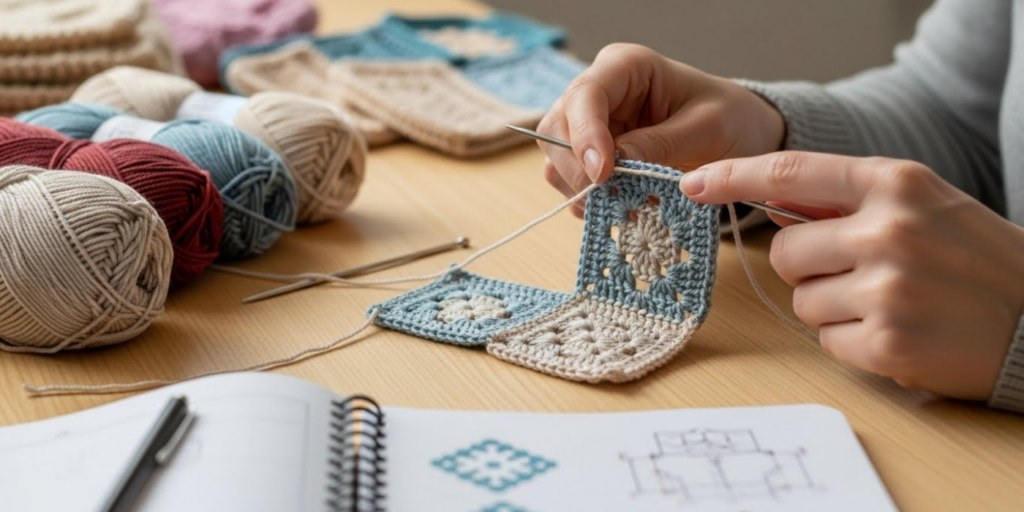
Step 3: First Square
- Pick up stitches along the right edge of the first triangle (usually 8–10 sts).
- Work short rows back and forth, decreasing one stitch per row.
- On the final row, slip stitch into the top of the next triangle to join.
Step 4: Continue Across
Work a square above each base triangle, joining as you go.
Step 5: Side Triangle
At the end, work a decreasing triangle to straighten the edge.
Result: A diamond-patterned swatch that lies flat and showcases the entrelac rhythm.
Pro tip: Mark the beginning of each square with a stitch marker until you recognize the pattern by sight.
6. Common Challenges—and How to Overcome Them
Every new technique has hurdles. Here’s how to tackle entrelac’s biggest ones:
“I keep losing stitches on the edges!”
→ When picking up stitches along a triangle edge, insert your hook under both loops of the edge stitch—not just the top. Count as you go.
“My fabric is curling!”
→ This is normal in early rows. Blocking will relax it. Also, ensure you’re not pulling your joining slip stitches too tight, which can distort the fabric.
“I can’t see where to join!”
→ Use a contrasting scrap yarn to mark the joining point in your first practice swatch. Over time, your eyes will train to spot the “V” of the top stitch.
“It’s taking forever!”
→ Entrelac is slower than regular rows—but that’s part of its charm. Put on a podcast, embrace the process, and remember: each block is progress.
Remember: Even professional designers frog (rip out) entrelac rows. Mistakes are part of mastery.
7. Project Ideas to Showcase Your Entrelac Skills
Once you’ve got the rhythm, try these rewarding projects:
Beginner:
- Entrelac Scarf (2–3 colors, simple rectangle)
- Dishcloth or Washcloth (cotton yarn, great for practice)
Intermediate:
- Throw Blanket (use ombre yarn for a stunning fade effect)
- Tote Bag (stiffen with a fabric lining for structure)
Advanced:
- Entrelac Sweater (worked in panels and seamed)
- Infinity Cowl (worked in the round with continuous entrelac)
Design tip: Use three colors in a repeating sequence (A-B-C-A-B-C) for a kaleidoscopic effect that feels intentional, not chaotic.
8. Care and Finishing: Make Your Entrelac Shine
Entrelac fabric benefits hugely from blocking:
- Soak your finished piece in cold water for 20 minutes.
- Gently squeeze (don’t wring).
- Lay flat on a towel, shape to measurements, and pin if needed.
- Let dry completely.
Result: Blocks open up, diagonals align, and texture pops.
For garments, consider adding a simple border (like single crochet or crab stitch) to frame the entrelac and give edges stability.
9. Entrelac in Color: Design Tips for Maximum Impact
Color transforms entrelac from interesting to breathtaking.
- Monochromatic: Use one color in multiple shades for subtle depth.
- High Contrast: Black and white creates graphic, modern drama.
- Gradient Yarns: Let the color shifts do the work—ideal for scarves.
- Random Pop: Work most blocks in neutral, then add one bright block per row for surprise.
Pro insight: Always swatch in color before starting a large project. Colors can look very different when worked in entrelac’s diagonal structure versus a flat swatch.
10. The Joy of the Process: Why Entrelac Is Worth the Effort
Entrelac isn’t just about the finished object—it’s about the journey of creation. The rhythm of building each block, the satisfaction of joining them seamlessly, the surprise of watching a flat chain transform into 3D texture—it’s deeply rewarding.
And when someone asks, “Did you really make this with just a hook?”—you’ll smile, knowing you unlocked a technique that looks like magic but is entirely your own making.
Conclusion: Entrelac Is Your Invitation to Play
Crochet entrelac isn’t just a stitch—it’s a creative playground where geometry meets texture, and patience meets payoff. It challenges you just enough to grow, while rewarding you with fabric that turns heads and sparks questions: “You made that with just a hook?”
In this guide, you’ve learned:
- How entrelac creates woven-like texture through interlocking blocks;
- Why it’s both forgiving and skill-building;
- The three-phase structure (triangles, squares, triangles);
- Practical tips to avoid common pitfalls;
- And project ideas to match your confidence level.
Now, grab some yarn, chain a foundation, and build your first triangle. Don’t worry about perfection—focus on the joy of watching your fabric emerge, one interlaced block at a time.
Have you tried entrelac before? What project are you dreaming of making? Share your ideas or questions in the comments below! And if you found this guide helpful, pass it on to a fellow crocheter ready to explore something new. Happy hooking! 🧶✨

Maria Santos is a dedicated crochet and knitting enthusiast who finds joy in turning simple strands of yarn into meaningful, handmade art. With a natural eye for detail and a deep love for fiber crafts, she brings warmth, creativity, and years of personal experience to every project. Maria is inspired by the stories woven into each stitch and loves sharing that passion with others.


