What if you could create delicate, flowing lace—without bobbins, needles, or centuries of training—using just a crochet hook and a ball of thread?
Meet Bruges lace crochet, a stunning technique that transforms simple chains and double crochets into ribbon-like motifs that mimic the intricate bobbin lace once made in the canals of medieval Bruges, Belgium. But don’t let its vintage roots fool you: this method is having a major moment in today’s handmade world.
Unlike dense filet crochet or stiff Irish lace, Bruges lace is light, airy, and sculptural—perfect for everything from boho earrings to minimalist home décor. And while it may look complex at first glance, it’s built from just two repeating elements: a flat “tape” and decorative connectors.
In this guide, you’ll discover the rich history behind this technique, learn exactly how it works, get a step-by-step walkthrough to start your first motif, and explore fresh, contemporary ways to use Bruges lace in your own projects. Whether you’re a history lover, a texture enthusiast, or simply craving a new creative challenge, this vintage art offers timeless beauty with modern versatility.
Ready to weave a little European elegance into your next creation? Let’s begin.
A Stitch in Time: The Story Behind Bruges Lace
Long before fast fashion, handmade lace was a symbol of wealth, patience, and artistry. In 15th-century Flanders (modern-day Belgium), cities like Bruges, Ghent, and Brussels became global centers for lace production. The original bobbin lace was made by winding dozens of threads onto bobbins and weaving them on a pillow—a painstaking process that could take weeks for a single collar.
But by the late 1800s, as industrialization threatened traditional crafts, crocheters sought a way to replicate lace using only a hook. What emerged was Bruges lace crochet: a clever method that mimics the look of bobbin lace by creating a flat “tape” (like a narrow ribbon) and connecting it with chains, picots, and arches to form curves, flowers, or geometric shapes.
Unlike other lace techniques, Bruges lace doesn’t rely on solid blocks or dense thread. Instead, it’s open, fluid, and dimensional—like ribbon dancing through space.
Though it nearly vanished in the mid-20th century, Bruges lace has seen a quiet renaissance in recent years, thanks to makers who appreciate its sculptural quality, minimal yarn use, and historical charm.
How Bruges Lace Actually Works: Simpler Than It Looks
At its core, Bruges lace is built from two basic components:
- The Tape (or Braid) – A flat, reversible strip made from alternating chains and double crochets, worked back and forth.
- The Connectors – Chains, picots, or small clusters that join sections of tape to create curves, waves, or floral motifs.
Think of the tape as a train track, and the connectors as the switches that guide it into loops, rosettes, or scallops.
You never work in rounds. Instead, you shape your design by folding and joining the tape as you go, giving Bruges lace its signature three-dimensional flair.
Why modern crafters love it:
- Creates ethereal, openwork designs without dense stitching
- Uses very little yarn or thread—great for stash-busting or eco-friendly projects
- Offers endless design flexibility: go floral, geometric, or freeform
- Works beautifully with linen, cotton, bamboo, or even recycled threads
And despite its delicate appearance, Bruges lace is surprisingly sturdy—especially when blocked properly.
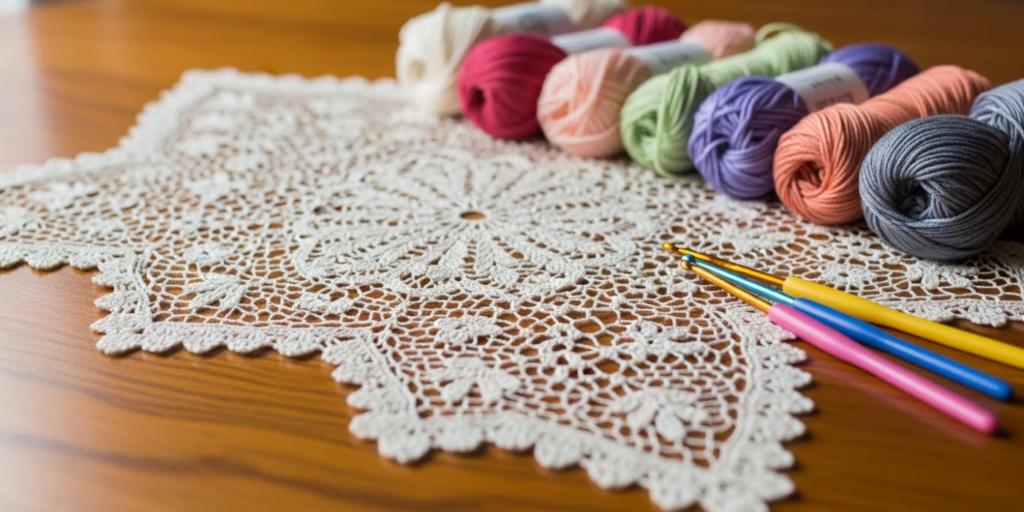
Getting Started: Materials That Make a Difference
You don’t need a treasure chest of supplies—just thoughtful choices:
✅ Thread or Yarn:
- Traditional: Size 20–40 crochet thread (like DMC Cordonnet or Aunt Lydia’s) for authentic lace.
- Modern twist: Use sport or fingering weight yarn (cotton, linen, or bamboo blends) for bolder, wearable pieces. Avoid wool—it lacks the crisp drape Bruges lace needs.
✅ Hook:
- Steel hooks (0.6–1.5mm) for fine thread
- Regular hooks (2.0–3.0mm) for light yarn
✅ Extras:
- Stitch markers (to track tape turns)
- Blocking mat and rust-proof pins (essential for finishing)
- Scissors and tapestry needle
Pro tip: Start with undyed or light-colored cotton—it’s easier to see your stitches and correct mistakes.
Most importantly, adopt a patient, meditative mindset. Bruges lace rewards slowness. Rushing leads to tangled tape or uneven tension. Put on soft music, pour a cup of tea, and let your hands move with care.
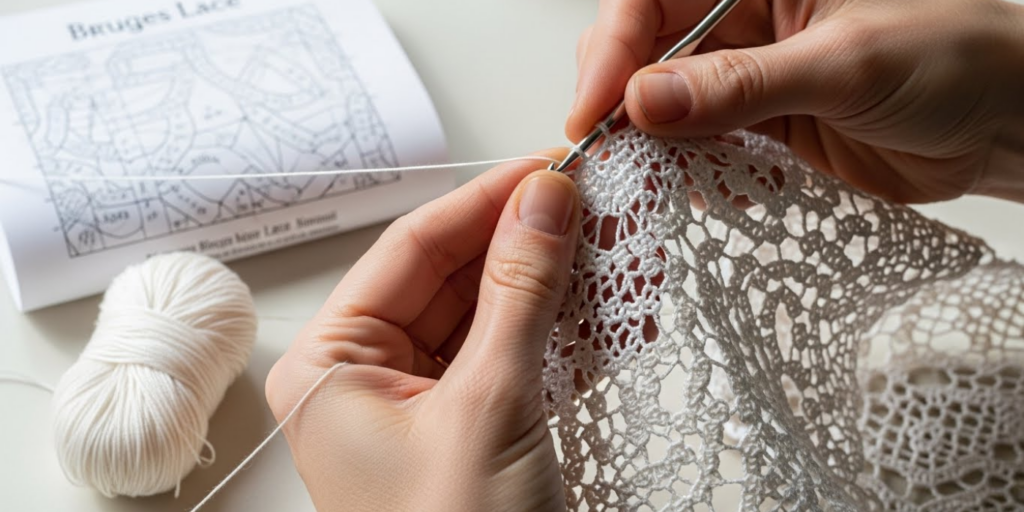
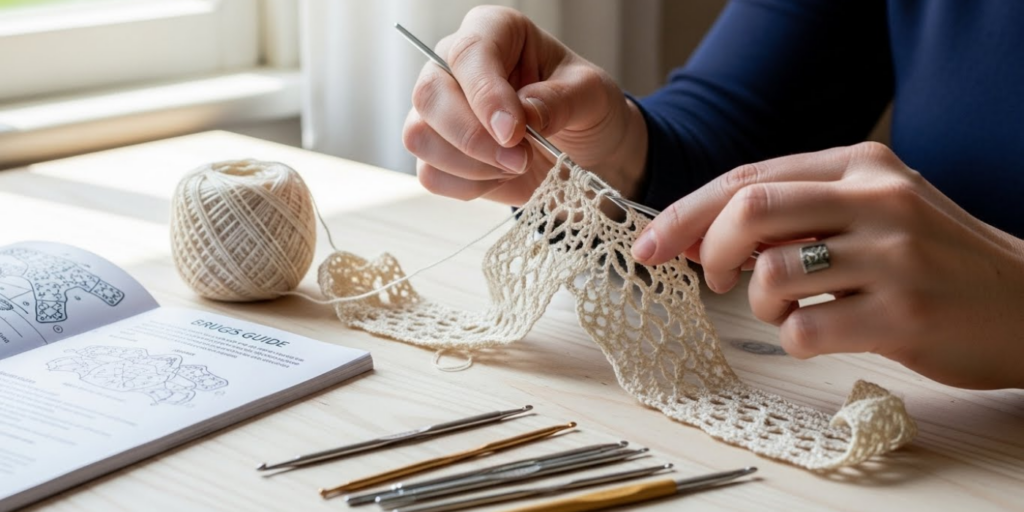
Step-by-Step: Creating Your First Bruges Tape
Let’s build the foundation—the tape.
Step 1: Foundation Chain
Chain an odd number (e.g., 11 chains). This ensures symmetry when turning.
Step 2: First Row
- Skip the first chain (it counts as your turning chain).
- Work 1 double crochet (dc) in the next chain.
- Chain 1, skip 1 chain, dc in next chain.
- Repeat from * across. End with a dc in the last chain.
- Turn your work.
This creates a zigzag “ladder”—the spine of your tape.
Step 3: Continue the Tape
On the next row:
- Chain 3 (counts as first dc).
- Work dc in the first dc of the previous row (not in the chain space!).
- Chain 1, dc in next dc.
- Repeat across. Turn.
Key insight: You’re always working dc into the dc posts, never into the chain spaces. The chain-1 spaces create the open channel down the center—this is what gives Bruges tape its flat, ribbon-like look.
Repeat rows until your tape is the desired length. For a first swatch, try 15–20 rows.
Shaping the Lace: From Tape to Art
Now for the magic: turning straight tape into curves and motifs.
Method 1: The Picot Join (for Scallops or Edgings)
- Work your tape to the turning point.
- Instead of turning, chain 5–7 stitches (this forms an arch).
- Slip stitch into the edge of the tape several rows back.
- Continue working tape from that join point.
Each arch acts like a hinge, allowing the tape to bend into elegant scallops or petals.
Method 2: Building a Rosette (for Brooches or Appliqués)
- Make a short tape (10 rows).
- Chain 6, slip stitch to the base to form a ring.
- Work another tape segment, joining it to the ring with picots every few rows.
- Repeat 4–6 times to form a flower.
Design tip: Sketch your motif lightly on paper first. Bruges lace is modular—you can plan shapes like puzzle pieces.
Common Challenges (and How to Overcome Them)
Even experienced crocheters face hurdles with Bruges lace. Here’s how to navigate them:
❌ “My tape curls or twists!”
This usually means uneven tension. Try:
- Using a larger hook for the chain-1 spaces
- Blocking every few inches as you go
- Counting stitches carefully—missing a dc post throws off the whole tape
❌ “The joins look messy.”
Practice slip stitching neatly into the edge dc posts, not the chain spaces. A smaller hook for joining can help.
❌ “I can’t visualize the final shape.”
Start with simple borders before tackling 3D motifs. Many free vintage patterns (like those from Weldon’s Practical Needlework) show classic Bruges edgings—great for learning.
Remember: Slight irregularities give handmade lace its soul. Perfection isn’t the goal—presence is.
Modern Projects That Shine With Bruges Lace
Don’t relegate this technique to doilies! Today’s makers are reimagining Bruges lace in fresh, functional ways:
- Minimalist Jewelry: Use fine metallic thread for lightweight earrings, necklaces, or hairpins.
- Wedding Accents: Veil edgings, garter trims, or bouquet wraps with heirloom charm.
- Home Décor: Table runners, curtain tiebacks, framed wall art, or lampshade trims.
- Fashion Details: Collars for linen blouses, yoke inserts on summer dresses, or lace insets on tote bags.
- Baby Heirlooms: Christening gowns, bonnet trims, or delicate bootie accents.
Real example: A popular Etsy seller recently launched a Bruges lace plant hanger using unbleached cotton—combining sustainability with vintage texture.
The key is scale and contrast: pair delicate Bruges elements with modern silhouettes or bold colors to avoid looking “dated.”
Why This Technique Matters in a Fast-Made World
In an era of mass production, Bruges lace is a quiet act of resistance and reverence. It honors the hands of Flemish lacemakers who worked by candlelight, yet adapts beautifully to mindful making today.
Moreover, it teaches precision, spatial reasoning, and patience—skills that transfer to all fiber arts. And because it uses so little material, it’s inherently sustainable and low-waste.
As one modern lacemaker puts it: “Bruges lace isn’t just about making something pretty—it’s about slowing down enough to see beauty in the space between stitches.”
Final Tips for Success
To make your Bruges journey joyful and successful:
🔁 Start small – Master a 6-inch border before attempting a full shawl.
🧵 Block religiously – Gently stretch your finished piece on a mat, pin into shape, and mist with water. Let dry completely.
📚 Study vintage patterns – Books like Bruges Lace Crochet by Geraldine Wilkes offer timeless inspiration.
❤️ Embrace imperfection – Handmade lace should whisper, not shout.
Conclusion: Weave History Into Your Hands
Bruges lace crochet is more than a technique—it’s a conversation across centuries. With every chain and picot, you join a lineage of artisans who believed beauty lives in detail, patience, and care.
And the best part? You don’t need to live in a Belgian canal house or wear a bonnet to enjoy it. Whether you’re trimming a summer dress, crafting a gift for a loved one, or simply enjoying the rhythm of hook and thread, Bruges lace offers a rare blend of heritage and handmade joy.
So dust off that spool of thread, choose a sunny corner, and give this vintage method a try. You might just find that the most modern thing you can make is something deeply, beautifully old.
Have you tried Bruges lace before? Or are you inspired to start your first project? Share your ideas or questions in the comments below—and if you love vintage techniques with a modern twist, share this article with a fellow maker! Happy stitching! 🌸

Maria Santos is a dedicated crochet and knitting enthusiast who finds joy in turning simple strands of yarn into meaningful, handmade art. With a natural eye for detail and a deep love for fiber crafts, she brings warmth, creativity, and years of personal experience to every project. Maria is inspired by the stories woven into each stitch and loves sharing that passion with others.


