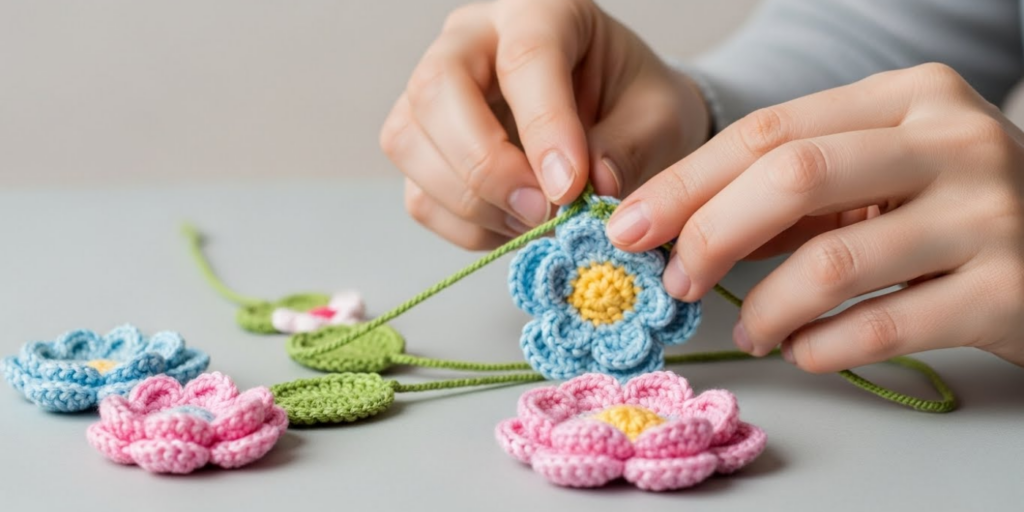
Picture this: a plain gray beanie suddenly blooms with a soft pink rose. A simple cotton tote transforms into a garden-inspired carryall with a cluster of sunny daisies. A baby blanket gets an extra hug of love from a ring of tiny lavender blossoms along its edge.
That’s the magic of 3D crochet flowers. More than just cute accents, these dimensional embellishments are incredibly versatile, surprisingly easy to make, and perfect for breathing new life into any project—whether you’re covering a small mistake, personalizing a gift, or simply adding a handmade touch to your everyday style.
In this guide, we’ll explore why 3D crochet flowers are a must-try for crafters of all levels, walk you through the essential stitches and techniques you’ll use, provide a simple step-by-step pattern to get you started, and share dozens of creative ways to use these blossoms—from fashion and home décor to seasonal crafts and heartfelt gifts.
Best of all? You don’t need advanced skills or expensive materials. Just a hook, some yarn (even scraps!), and a little curiosity. So grab your yarn stash, and let’s make your crochet bloom!
Why 3D Crochet Flowers Are Worth Your Time
At first glance, 3D flowers might seem like purely decorative—adorable, yes, but maybe “just for show.” But they’re actually incredibly practical and beginner-friendly.
For new crocheters, they’re a low-stakes way to practice foundational skills like working in the round, increasing evenly, and switching colors—all while making something beautiful. For experienced crafters, they’re a creative playground to experiment with texture, color, and form without committing to a large project.
Plus, they solve real crafting dilemmas:
- Got a small gauge mistake on a scarf? Cover it with a flower!
- Made a hat that’s a little too plain? Add a bold blossom to the brim.
- Need a last-minute gift? Stitch a bouquet onto a headband or keychain in under an hour.
And let’s not forget the joy factor. There’s something deeply satisfying about shaping yarn into petals that curl, layers that ruffle, and centers that pop with dimension. Unlike flat appliqués, 3D flowers have movement, depth, and personality—making your handmade items truly one-of-a-kind.
Fun fact: During the Victorian era, floral bouquets (tussie-mussies) carried secret messages—roses for love, violets for faithfulness. Your crocheted posy can say “I’m thinking of you” without saying a word.
Basic Stitches and Techniques You’ll Use
The beauty of 3D crochet flowers is that you don’t need advanced skills. Most designs rely on just a handful of foundational stitches—many of which you likely already know. Here’s what you’ll use most:
1. Chain Stitch (ch)
The backbone of most flower patterns. You’ll use chains to create petals, centers, and even stems.
2. Single Crochet (sc) and Slip Stitch (sl st)
Perfect for tight, dense centers or joining rounds cleanly. Slip stitches are especially useful for moving your yarn without adding height.
3. Double Crochet (dc) and Treble Crochet (tr)
These taller stitches create volume and curve—ideal for lifelike petals that fan outward. Cluster stitches (like dc3tog) help shape rounded petal tips.
4. Working in the Round
Almost all 3D flowers are crocheted in spirals or joined rounds. Learning to increase evenly (e.g., 2 sc in each stitch around) is key to flat, circular bases.
5. Shaping with Increases and Decreases
To make petals look natural, you’ll often increase in the middle of a row (for width) and decrease at the edges (for tapering). Simple decreases like sc2tog keep edges smooth.
Pro tip: Use a stitch marker to mark the beginning of each round. It’s easy to lose count when working small circles!
Don’t worry if you’re new to these—most flower patterns come with full written instructions and even video tutorials. Start with a 5-petal basic flower, and you’ll master the rhythm quickly.
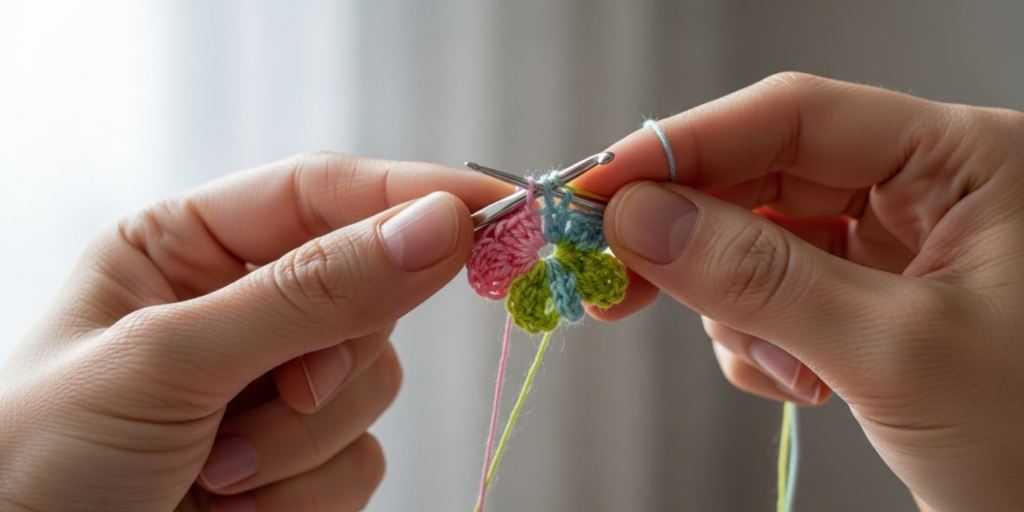
Step-by-Step: Making Your First 3D Crochet Flower
Ready to try? Here’s a simple method to create a classic 6-petal bloom—great for beginners and endlessly customizable.
Materials Needed:
- Worsted-weight yarn (cotton or acrylic works well) in two colors (one for petals, one for center)
- Size H/5.0mm crochet hook
- Yarn needle
- Scissors
Instructions:
1. Make the center:
- With Color A, ch 4, sl st to form a ring.
- Round 1: 6 sc into ring, sl st to first sc. (6 sts)
- Fasten off, leaving a long tail for sewing.
2. Create the petals (Color B):
- Join Color B with a sl st to any stitch on the center.
- Ch 3 (counts as first dc), 2 dc in same stitch → this is your first petal base.
- Ch 2 (this arch will separate petals).
- 3 dc in next stitch, ch 2.
- Repeat around (6 petals total).
- Join with a sl st to the top of the first ch-3.
3. Finish and attach:
- Weave in ends. Gently pull the center tail to slightly gather the middle if desired.
- Use the long tail to sew your flower onto a project!
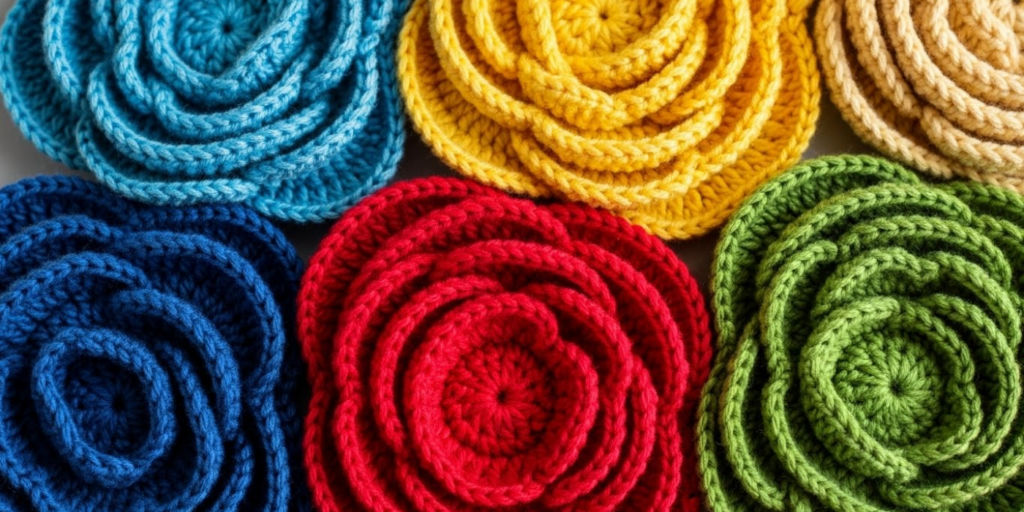
Customize it: Try 8 petals for a fuller look, or use variegated yarn for ombré effects. Switch to lace-weight yarn and a small hook for delicate baby bouquet flowers.
Remember: Slight imperfections make your flowers look more organic and charming. Nature isn’t perfect—and neither should your blossoms be!
Creative Ways to Use 3D Crochet Flowers
Once you’ve made a few, you’ll start seeing endless possibilities. Here are some of our favorites:
1. Fashion & Accessories
- Headbands & hair clips: Perfect for kids’ recitals or boho-chic outfits.
- Sweater accents: Sew a cluster of roses along a neckline or cuff.
- Bag embellishments: Turn a plain canvas tote into a garden tote with daisies and leaves.
2. Home Décor
- Pillow appliqués: Mix large and small flowers for a textured throw pillow.
- Wall art: Mount flowers on a painted canvas or embroidery hoop for 3D wall decor.
- Curtain ties or lampshade trim: Add soft, romantic details to your space.
3. Gifts with Heart
- Baby blankets: Stitch tiny flowers into the border (use soft cotton and secure all ends well).
- Greeting cards: Glue a miniature flower to the front of a handmade card.
- Wedding favors: Create floral brooches or bouquet charms for bridesmaids.
4. Seasonal & Holiday Crafts
- Easter eggs: Crochet tiny flowers to nestle around decorated eggs.
- Christmas ornaments: Make poinsettias or holly berries for your tree.
- Spring wreaths: Attach a floral garland to a foam or wire base.
Sustainability bonus: Instead of buying plastic silk flowers, your crocheted versions are reusable, washable, and plastic-free.
Remember: Less is often more. A single bold bloom can be more impactful than a cluttered cluster. Think about balance, color harmony, and the story you want your project to tell.
Tips for Realistic and Long-Lasting Flowers
Want your flowers to look natural and hold their shape? Try these pro techniques:
1. Block your flowers
Lightly spritz finished flowers with water, pin them into shape on a towel, and let dry. This evens out stitches and opens up petals beautifully—especially with cotton or wool.
2. Add dimension with stuffing
For extra-plump centers (like in peonies or dahlias), add a tiny pinch of polyester fiberfill before closing the final round.
3. Mix yarn weights and textures
- Use matte cotton for realistic daisies.
- Try shiny mercerized cotton for dewy lilies.
- Blend in chenille or velvet yarn for velvety rose petals (sparingly—these can be tricky to stitch!).
4. Include leaves and stems
A flower rarely stands alone! Crochet simple leaf shapes (often just chain + sc rows) and attach them beneath your bloom for realism. Use green embroidery floss to stitch veins.
5. Secure your attachments well
If your flower will be handled often (like on a child’s hat), sew through multiple layers and knot your thread several times. You can even add a small button on the back for reinforcement.
Note: Always consider washing instructions. If the base item is machine-washable, use a durable yarn like acrylic or superwash cotton for your flowers.
Inspiration from Nature and Tradition
Nature is your best teacher. Take a walk and observe real flowers:
- How many petals does a buttercup have? (Usually 5)
- Are the edges smooth or ruffled? (Poppies are ruffled; daisies are smooth)
- How do the petals layer? (Roses spiral; sunflowers radiate outward)
You can also explore traditional motifs:
- Mexican flor de cempasúchil (marigold): bright orange, ruffled, used in Día de Muertos
- Ukrainian vinok (flower crown): symbolic blooms like periwinkle and sunflowers
- Victorian floriography: red roses for love, violets for modesty, forget-me-nots for remembrance
These cultural touches add meaning and depth to your creations—making them more than just decoration, but storytelling tools.
Conclusion: Let Your Creativity Bloom
3D crochet flowers are far more than pretty add-ons—they’re gateways to creativity, confidence, and connection. They let you transform ordinary projects into extraordinary expressions of care, whether you’re covering a stain, celebrating a loved one, or simply playing with color and form.
In this guide, we’ve covered:
- Why these embellishments are practical and meaningful
- The basic stitches and techniques you need
- A simple step-by-step flower pattern to get you started
- Dozens of creative uses across fashion, home, and gifts
- Pro tips for realism, durability, and inspiration
Now, it’s your turn. Grab that scrap of yarn in your stash—the one that’s been calling your name—and stitch your first petal. Don’t worry about making it perfect. Make it joyful. Make it yours.
And when you’re done, we’d love to see it! Share a photo in the comments or tag us on social media. What kind of flower will you make first—a sunny daisy, a romantic rose, or a fantasy blossom from your imagination?
After all, every great garden starts with a single seed… or in this case, a single stitch. 🌸

Maria Santos is a dedicated crochet and knitting enthusiast who finds joy in turning simple strands of yarn into meaningful, handmade art. With a natural eye for detail and a deep love for fiber crafts, she brings warmth, creativity, and years of personal experience to every project. Maria is inspired by the stories woven into each stitch and loves sharing that passion with others.


