Introduction
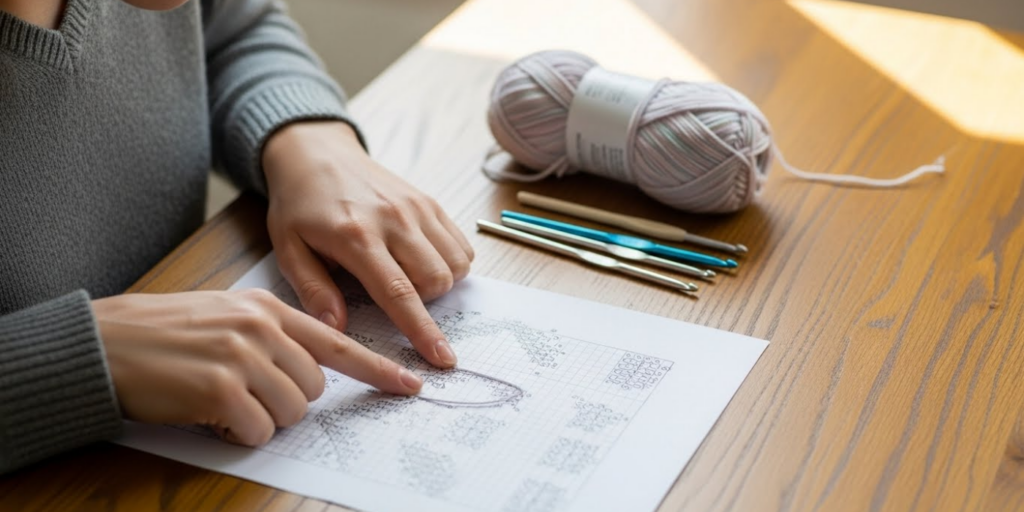
You’re holding a beautiful crochet pattern from a favorite designer—only there’s not a single written instruction in sight. Instead, you see a grid of tiny symbols: crosses, T-shapes, ovals, and arrows. At first glance, it looks like an alien language. But what if I told you that this “language” is actually one of the most powerful tools in your crochet journey?
Crochet diagrams—also called charts—are visual roadmaps that show you exactly where each stitch goes. Unlike written patterns, which can vary by country or style, diagrams use universal symbols recognized by crocheters worldwide. Once you learn to read them, you’ll unlock thousands of stunning patterns (especially from Europe and Japan) that are only available in chart form.
In this guide, we’ll break down crochet diagrams into simple, bite-sized steps. You’ll learn the most common symbols, how to follow rows and rounds, how to handle repeats, and how to avoid common pitfalls. Whether you’re making a lacy shawl, a colorful granny square, or a cozy sweater, this skill will boost your confidence and expand your creative horizons. Let’s turn confusion into clarity—one symbol at a time.
Why You Should Learn to Read Crochet Diagrams
Many beginners stick to written patterns because diagrams seem intimidating. But here’s the truth: diagrams often make complex patterns easier to understand.
Think of it this way: written instructions tell you what to do (“skip 2 stitches, double crochet in the next”). A diagram shows you where to do it—like a GPS for your hook. This is especially helpful for:
- Lace or filet crochet, where stitch placement is everything
- Colorwork or tapestry crochet, where you need to see color blocks clearly
- Geometric motifs like hexagons or mandalas
- International patterns, which may not have reliable English translations
Plus, diagrams eliminate regional confusion. In the U.S., a “double crochet” is different from the U.K.’s “double crochet”—but the symbol is the same everywhere. That means you can confidently follow a pattern from France, Germany, or Japan without guessing.
And the best part? You don’t have to choose. Many designers include both written instructions and diagrams—use them together for maximum clarity.
Understanding the Universal Crochet Symbols
Every diagram is built from a set of standardized symbols maintained by organizations like the Craft Yarn Council and the International Standards Organization (ISO). These symbols are intuitive once you know what they represent.
Here’s a quick reference to the most common ones you’ll see:
- Chain (ch): A small open oval or circle
- Slip stitch (sl st): A solid dot or a tiny filled circle
- Single crochet (sc): A cross (+) or an “x”
- Half double crochet (hdc): A “T” with one horizontal bar on top
- Double crochet (dc): A “T” with two horizontal bars
- Treble crochet (tr): A “T” with three horizontal bars
- Starting ring (for motifs): A small circle in the center, often with stitches attached
Pro Tip: The height of the symbol matches the height of the stitch. A dc symbol is taller than an sc—just like the real thing!
Where to find a full chart: Download a free Standard Crochet Symbol Chart from the Craft Yarn Council’s website. Print it, laminate it, and keep it in your project bag. You’ll use it often at first—and soon, you won’t need it at all.
How to Follow Rows (Flat Projects)
When you’re making something flat—like a scarf, blanket, or dishcloth—you’ll usually work in rows. In diagrams, rows are shown as horizontal lines of symbols.
Here’s how to read them:
- Right-side rows (usually odd-numbered) are read from right to left
- Wrong-side rows (even-numbered) are read from left to right
Arrows often indicate direction. Some diagrams label rows on the side (e.g., “Row 1,” “Row 2”), so you always know where you are.
Example: Imagine a simple pattern:
Row 1: Ch 1, sc in each st across.
In diagram form, you’d see a row of “+” symbols starting from the right.
Row 2: Ch 1, turn, sc in each st across.
Now the “+” symbols run left to right.
Helpful Habit: Use a highlighter or ruler to mark the row you’re working on. This keeps you from skipping lines or losing your place.
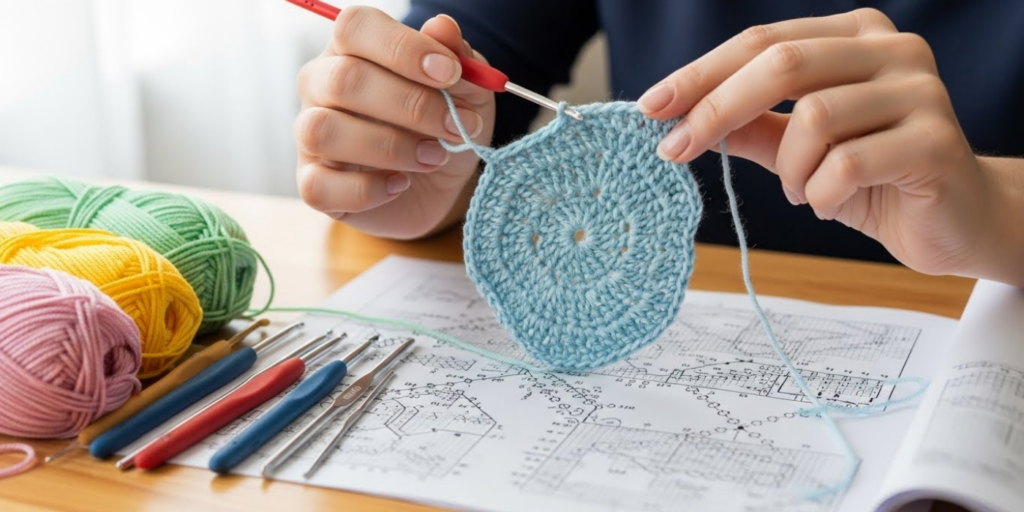
How to Follow Rounds (Circular Projects)
For hats, amigurumi, doilies, or granny squares, you’ll work in the round. Diagrams show this as concentric circles or spirals, always moving counter-clockwise.
Here’s how it works:
- Round 1 starts in the center (usually a magic ring or small circle)
- Each new round wraps around the previous one
- Stitches in each round are connected to the round below with lines or dots
Key Tip: The beginning of each round is often marked with a small arrow or a different-colored symbol. Use a stitch marker to mark this spot in your actual work—it helps you stay aligned with the diagram.
Example: A basic granny square might show:
- Round 1: 12 dc into a ring (12 “T” symbols with two bars, radiating from the center)
- Round 2: Clusters of 3 dc separated by ch-2 spaces (shown as groups of “T” symbols with ovals between them)
Don’t worry if it looks complex at first. Trace the round with your finger as you crochet—you’ll quickly see how the stitches connect.
Decoding Repeats, Brackets, and Special Markings
Real-world diagrams often include repeats to save space and reduce clutter. These are usually marked with dashed lines, brackets, or boxes.
- A horizontal bracket over several stitches means “repeat this sequence across the row.”
- A vertical bracket might indicate a section to repeat for multiple rounds.
- A small number like “(x6)” tells you how many times to repeat.
Example: A lace shawl diagram might show 5 stitches inside a dashed box, with “(x10)” next to it. That means: repeat those 5 stitches 10 times across the row (50 stitches total).
You might also see:
- Dotted lines: Indicate where to work into a stitch from a previous row (common in filet crochet)
- Color blocks: In tapestry patterns, each color is shaded differently
- Arrows: Show where to join rounds or attach pieces (like in granny squares)
Always check the legend! Some designers use custom symbols for popcorn stitches, clusters, or special techniques. The key explains them—don’t skip it.
A Step-by-Step Practice Walkthrough
Let’s put it all together with a simple project: a 6-round doily.
What the diagram shows:
- Round 1: A circle with 8 sc around it (8 “+” symbols in a ring)
- Round 2: Each sc has 2 sc worked into it (16 “+” symbols in a larger ring, with lines connecting to Round 1)
- Round 3: Alternating sc and ch-1 spaces (“+” and small ovals in a repeating pattern)
How to crochet it:
- Make a magic ring.
- Work 8 sc into the ring. Join with a sl st. (Round 1)
- In Round 2, work 2 sc into each sc around (16 total). Join.
- In Round 3, sc in next st, ch 1, skip next st—repeat around.
Why this works: The diagram mirrors your physical work. You can literally trace your progress with your eyes. If your piece doesn’t match the diagram, you’ll spot the mistake immediately.
Try it yourself! Grab some cotton yarn and a small hook. Go slowly, and celebrate each round you complete. Remember: every expert crocheter was once a beginner staring at a confusing chart.
Common Beginner Mistakes (and How to Fix Them)
Even experienced crocheters slip up when reading diagrams. Here are the most frequent errors—and how to avoid them:
- Reading in the wrong direction
→ Always check for arrows or row numbers. When in doubt, look at how the symbols “lean”—they usually point in the direction of work. - Miscounting repeats
→ Use stitch markers to mark the start and end of each repeat section. Count stitches as you go. - Ignoring the legend or key
→ Some patterns use unique symbols (e.g., for bobble stitches). The legend explains them—read it first! - Assuming all diagrams are identical
→ While most follow international standards, some Japanese patterns use slight variations. Check the source notes. - Rushing through Round 1
→ The foundation round sets everything up. Take your time to place stitches correctly—especially in the magic ring.
Remember: Mistakes are part of learning. If your project looks off, compare it to the diagram section by section. You’ll often spot the error quickly—and fix it on the next round.
Tips to Build Your Diagram-Reading Confidence
Ready to go beyond the basics? Here’s how to grow your skills with joy, not stress:
✅ Start small: Practice with coasters, dishcloths, or simple granny squares before tackling lace shawls.
✅ Use highlighters: Print the diagram and highlight the row you’re working on in a bright color.
✅ Watch video tutorials: Search YouTube for “[Pattern Name] diagram tutorial”—seeing it in action helps!
✅ Try free diagram-only patterns: Sites like Ravelry, LoveCrafts, and DROPS Design offer thousands. Filter by “chart only.”
✅ Sketch your own: Try drawing a simple 4-stitch repeat. It reinforces how symbols connect.
Also, don’t feel pressured to go diagram-only. Many crocheters use both written and visual instructions—whichever helps them most in the moment. Your goal isn’t perfection—it’s progress.
Conclusion
Learning to read crochet diagrams might feel like learning a new language at first—but with practice, it becomes second nature. And the payoff is huge: you’ll gain access to a global library of patterns, reduce mistakes, and create projects with greater precision and joy.
You don’t need to master everything overnight. Start with one symbol, then one row, then one round. Before you know it, you’ll be flipping through international pattern books with confidence, creating heirloom pieces from charts that once seemed like hieroglyphics.
So grab your hook, find a simple diagram-based pattern, and give it a try. Your next favorite project might be waiting in a chart—not a paragraph.
Have you tried reading a crochet diagram before? Did it go smoothly, or did you hit a snag? Share your experience in the comments below! And if this guide helped you, please share it with a fellow crocheter who’s ready to unlock a whole new world of creativity.
Happy stitching—and happy chart-reading!

Maria Santos is a dedicated crochet and knitting enthusiast who finds joy in turning simple strands of yarn into meaningful, handmade art. With a natural eye for detail and a deep love for fiber crafts, she brings warmth, creativity, and years of personal experience to every project. Maria is inspired by the stories woven into each stitch and loves sharing that passion with others.


