What if you could turn a plain, single-color afghan into a richly textured work of art—without frogging a single stitch? That’s the transformative power of overlay crochet. This captivating technique invites you to build dimension, drama, and personality directly on top of your finished fabric, using contrasting yarns and surface stitches to create everything from subtle tonal accents to bold 3D motifs.
Unlike traditional colorwork that requires planning from row one, overlay crochet is forgiving, flexible, and perfect for creatives who love to experiment. Whether you’re looking to rescue a “meh” project from your WIP pile or add a personal touch to a handmade gift, this method gives you the freedom to play, revise, and reimagine—long after the base is complete.
In this guide, you’ll discover what overlay crochet really is, why it’s become a favorite among modern fiber artists, and how to get started with confidence—even if you’ve never tried surface crochet before. We’ll walk through essential materials, beginner-friendly stitches, common pitfalls to avoid, and inspiring project ideas that showcase just how versatile this technique can be. By the end, you’ll see your finished pieces not as final products, but as blank canvases waiting for your unique signature.
So grab your hook, pick a few skeins of contrasting yarn, and get ready to add depth, color, and soul—one surface stitch at a time.
What Exactly Is Overlay Crochet?
Overlay crochet—sometimes called surface crochet or applied crochet—is a technique where you work decorative stitches on top of an already-finished crocheted (or occasionally knitted) fabric. Instead of building the design into the piece from the start, you “draw” or “sculpt” onto the surface after the base is complete.
Imagine your base fabric as a sketchbook page. Overlay crochet is your pen, paintbrush, or sculpting tool—allowing you to add lines, shapes, textures, or even raised floral elements without altering the underlying structure.
This method gained widespread attention thanks to designers like Melody MacDuffee, whose 2004 book Overlay Crochet showcased stunning 3D afghans featuring roses, leaves, and intricate geometric patterns. Her work demonstrated how simple stitches—like slip stitch, single crochet, and puff clusters—could be layered to mimic embroidery, appliqué, or even relief carving.
Why it’s special:
- You can customize any finished item—no need to rip out weeks of work.
- It’s ideal for improvisation—sketch with yarn as you go.
- It adds visual interest without bulk, making it perfect for wearables.
- It’s accessible to all skill levels—if you can hold a hook, you can try it.
Unlike intarsia or fair isle, overlay doesn’t require managing multiple yarns at once. You work one color at a time, cutting and rejoining as needed. This makes it remarkably low-stress and beginner-friendly.
Why Overlay Crochet Is More Than Just Pretty—It’s Practical
Beyond its undeniable beauty, overlay crochet offers real-world benefits that make it a smart choice for mindful makers.
First, it supports sustainable crafting. Instead of discarding a project that feels “too plain” or “not quite right,” you can elevate it with a few hours of surface work. This aligns with the growing movement toward slow fashion and mindful making, where we value longevity over fast trends.
Second, it’s a confidence booster. Many crocheters hesitate to experiment with color or texture for fear of “ruining” a project. With overlay, there’s no risk—because you’re working on top, not into the fabric. If you don’t like a motif, simply snip the overlay yarn (not the base!) and start again.
Third, it bridges skill gaps. Want the look of intarsia or tapestry crochet but find them intimidating? Overlay gives you similar visual results with far less complexity. No tangled floats, no tricky tension management—just clean, controlled surface stitches.
Real-life win: A crocheter on Instagram shared how she transformed a leftover beige baby blanket (destined for the donation bin) into a personalized keepsake by overlaying the baby’s name and birth flower in soft mint and blush yarn. The parents were moved to tears—and the project took less than two hours.
Moreover, overlay crochet is highly adaptable to your style. Prefer minimalist Scandinavian design? Use tone-on-tone yarn and clean lines. Love boho maximalism? Go wild with bold colors, mixed textures, and layered motifs. The technique serves your vision—not the other way around.
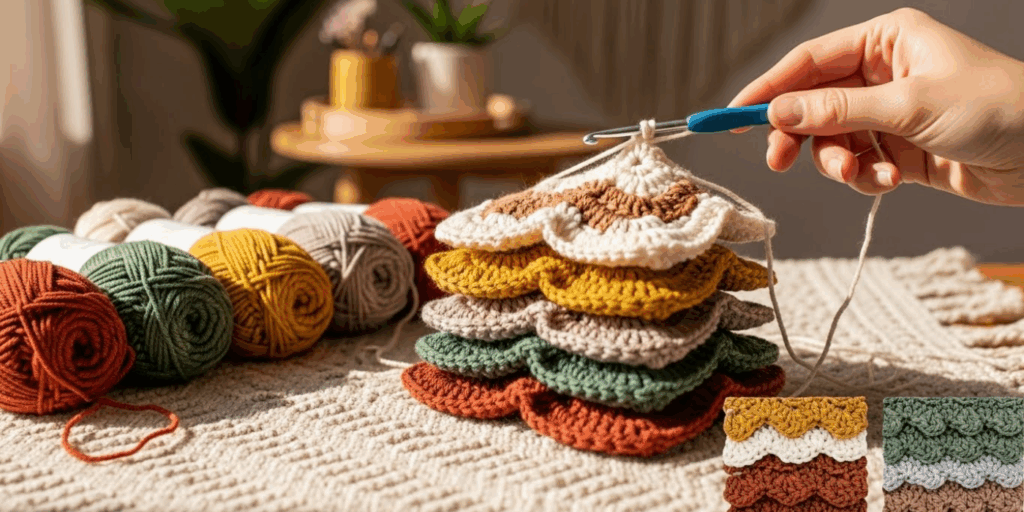
Getting Started: Tools, Yarn, and Base Fabric Tips
The best part? You likely already own everything you need. Here’s your simple starter kit:
- A finished base fabric: Best options include firm, stable stitches like single crochet, double crochet, or mesh/granny squares. Avoid very stretchy, dense, or loosely woven fabrics—they make it hard to anchor stitches securely.
- Contrasting yarn: Choose the same weight or slightly lighter than your base. Using a heavier yarn can cause puckering; too-light yarn may disappear visually.
- Crochet hook: Typically 1–2 sizes smaller than the hook used for the base. This helps keep overlay stitches neat and prevents them from overwhelming the fabric.
- Tapestry needle: For weaving in ends (you’ll have more of these, since you’ll cut yarn between motifs).
- Water-soluble fabric marker or straight pins (optional): Helpful for lightly sketching your design before stitching.
Pro tip: Start with smooth, non-splitty yarns like cotton, acrylic, or wool blends. Avoid fuzzy, slippery, or highly textured yarns (like mohair or roving) until you’ve practiced.
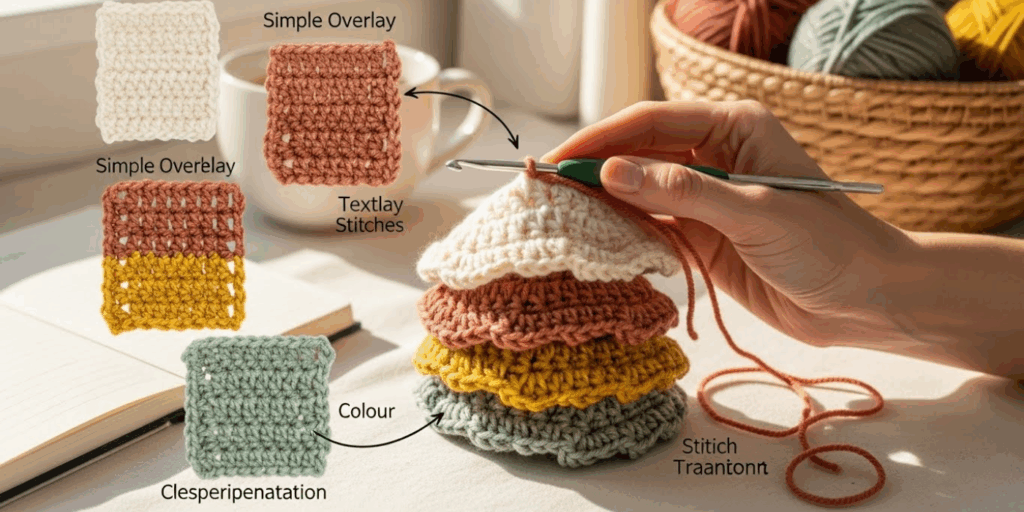
Before committing to a large project, make a swatch. Crochet a 6″x6″ square in your favorite stitch, then practice overlaying a simple shape—like a spiral, leaf, or geometric pattern. This helps you test color combos, tension, and stitch placement without pressure.
Remember: the base doesn’t need to be perfect. Slight imperfections often vanish under layered texture—another reason overlay is so forgiving!
4 Beginner-Friendly Overlay Techniques to Try This Weekend
Ready to stitch? Here are four easy, impactful methods to get you started:
1. Surface Slip Stitch (The Invisible Line)
Use a tapestry needle or small hook to “draw” continuous lines or outlines by catching the base fabric with slip stitches in a new color. It’s perfect for lettering, vines, or delicate borders. Keep tension even so the line lies flat.
2. Single Crochet Dots & Grids
Work single crochet stitches directly into the base at regular intervals. This creates stippled textures, faux embroidery, or modern pixel art. Try arranging dots in constellations or abstract patterns.
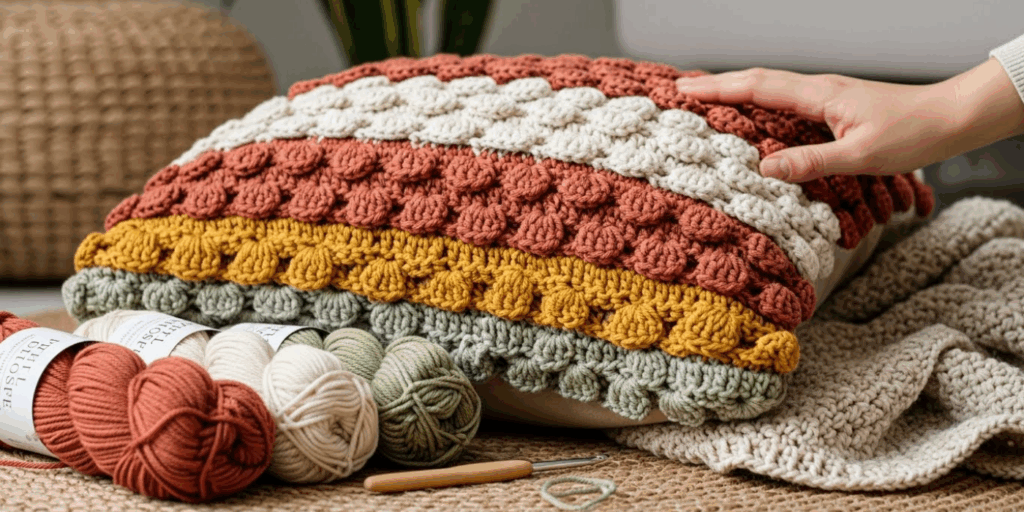
3. Puff Stitch Clusters (3D Magic)
Create soft, raised “blossoms” by working 4–6 yarn-overs into the same base stitch, then pulling through all loops at once. These add tactile dimension—ideal for flowers, snowflakes, or abstract art.
4. Shell or Fan Borders
Work a continuous row of shell stitches around the posts of your base stitches along an edge. This adds a lacy, romantic finish to shawls, blankets, or table runners.
Quick project idea: Take a plain market tote and overlay a row of puff stitches along the top edge in a contrasting color. It takes 20 minutes and instantly elevates the look.
Golden rule: Keep your overlay stitches loose enough that they don’t distort the base. If the fabric starts to ripple or pucker, your tension is too tight.
Common Mistakes (and How to Avoid Them)
Even simple techniques have learning curves. Here are the top three pitfalls—and how to dodge them:
❌ Mistake #1: Pulling overlay stitches too tight
This causes the base fabric to pucker or curl, ruining drape and appearance.
✅ Fix: Work with relaxed hands. Use a smaller hook for control, but let the stitches sit gently on the surface.
❌ Mistake #2: Choosing the wrong yarn weight or texture
Bulky or fuzzy yarns can overwhelm delicate designs or obscure stitch definition.
✅ Fix: Stick to DK or worsted-weight smooth yarns for your first few projects. Save novelty yarns for later experiments.
❌ Mistake #3: Jumping in without a plan
Freehanding can lead to uneven spacing, awkward proportions, or running out of space.
✅ Fix: Lightly sketch your design with a water-soluble pen or use pins to mark key points. Even a rough outline helps!
Analogy: Overlay crochet is like garnishing a dish. A sprinkle of fresh herbs elevates it—but dump the whole bunch, and you overpower the flavors. Intention beats volume every time.
Also, secure your ends well. Since overlay yarn isn’t woven into the fabric structure, loose tails can unravel with wear. Weave them through the back of your overlay stitches only—never the base—to keep removal easy if needed.
Inspiring Project Ideas to Spark Your Imagination
Once you’re comfortable with the basics, the creative doors swing wide open. Here are five ways to use overlay crochet in everyday life:
🌸 Personalized Baby Blankets
Add a child’s name, zodiac sign, or favorite animal in soft yarn. Keep stitches flat for sensitive skin, and use non-toxic, washable fibers.
🖼️ Textural Wall Art
Start with a neutral open-weave panel, then overlay mandalas, moons, feathers, or abstract lines in earthy tones or metallic threads. Frame it for instant gallery wall appeal.
🧶 Upcycled Sweaters & Vests
Revive an old crochet or knit top by adding vines along the neckline, geometric patterns on sleeves, or a subtle ombré fade across the back.
🍽️ Elegant Table Décor
Use fine cotton yarn to overlay delicate lace motifs onto plain runners or placemats—perfect for holidays, weddings, or everyday beauty.
🛋️ Statement Throw Pillows
Transform solid pillow covers with bold motifs: monstera leaves, abstract waves, or even your favorite quote in surface slip stitch.
Creative nudge: You don’t need a pattern to start. Look at nature, architecture, or your own doodles for inspiration. A single leaf traced in yarn can become a powerful design anchor.
Many designers now offer overlay patterns on Ravelry and Etsy—but the real joy lies in making it your own. Your stitches carry your story. Let them show.
Conclusion: Your Fabric, Your Canvas
Overlay crochet isn’t just a technique—it’s an invitation to see your finished work as a beginning, not an end. It reminds us that creativity doesn’t stop when the last row is chained off. Sometimes, the most meaningful details are added afterward, with intention, play, and heart.
In this article, we’ve explored how overlay crochet works, why it’s both practical and deeply expressive, what tools you need, and how to avoid common beginner stumbles. Most importantly, we’ve seen that you don’t need perfection to create something beautiful—just curiosity and the courage to add one stitch on top of another.
So take that project you’ve been unsure about. That neutral scarf. That “almost-there” blanket. Look at it not as incomplete, but as a quiet space waiting for your voice.
Now we’d love to hear from you: What’s the first thing you’ll transform with overlay crochet?
Share your ideas, questions, or finished makes in the comments below—your project might inspire someone else to pick up their hook and play!
And if this guide sparked your creativity, pass it along to a fellow maker who’s ready to add layers of color, texture, and joy to their craft. Happy stitching! 🪡✨

Maria Santos is a dedicated crochet and knitting enthusiast who finds joy in turning simple strands of yarn into meaningful, handmade art. With a natural eye for detail and a deep love for fiber crafts, she brings warmth, creativity, and years of personal experience to every project. Maria is inspired by the stories woven into each stitch and loves sharing that passion with others.


