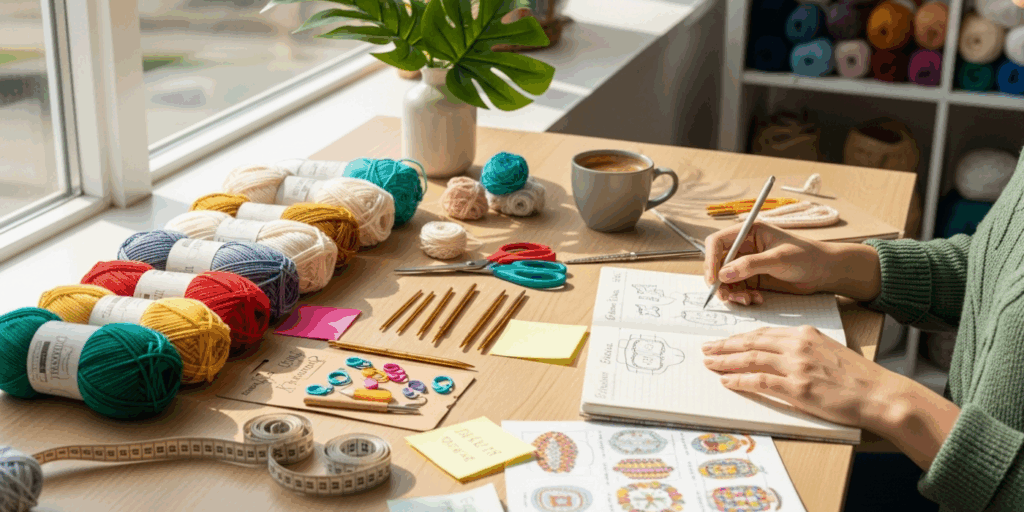
You’ve just picked up a hook and a ball of yarn. Maybe it was a gift. Maybe you saw a cozy blanket on Pinterest and thought, “I could do that.” And now? You’re sitting there, staring at the tangled mess in your lap, wondering: What on earth do I need besides this hook and yarn?
Welcome to the wonderful, slightly chaotic, deeply satisfying world of crochet.
Whether you’re a complete beginner or someone who’s dabbled in knitting and wants to try something new, the right tools can make all the difference between frustration and flow. Crochet isn’t just about yarn and hooks—it’s about having the right support system to turn your ideas into reality. And trust me, you don’t need to spend a fortune. But you do need the essentials.
In this guide, we’ll walk through the must-have crochet tools every new crafter should own—not just to survive your first project, but to thrive in it. We’ll cover everything from the humble hook to the unsung heroes like stitch markers and tape measures. Plus, I’ll share real-life tips I’ve learned from years of crocheting (and a few epic yarn disasters along the way).
By the end, you’ll know exactly what to buy, what to skip, and how to set up your crochet space so it feels like a creative sanctuary—not a cluttered nightmare.
Let’s get started.
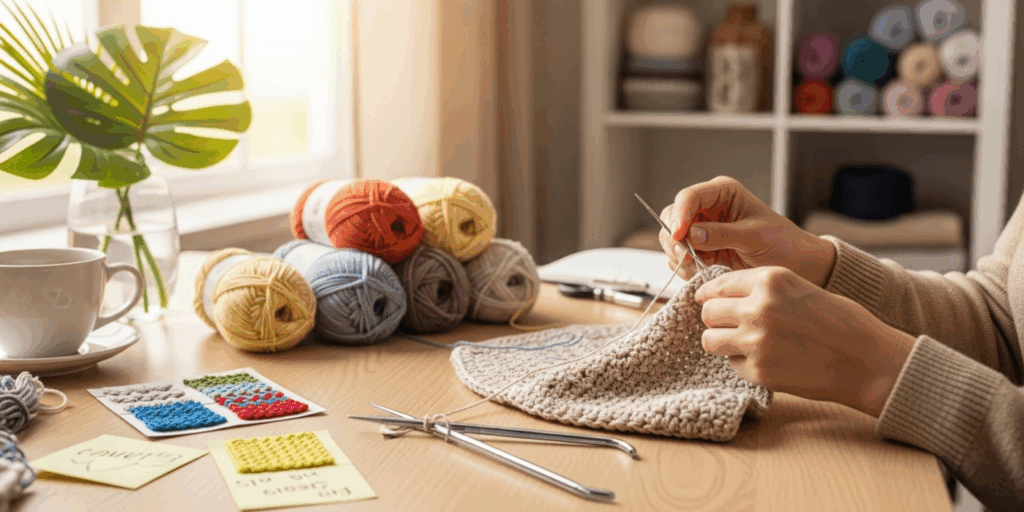
1. The Right Crochet Hook: It’s Not Just “A Hook”
Let’s start with the most obvious tool: the hook. It’s the heart of your craft. But here’s the truth—not all hooks are created equal.
When you’re starting out, you’ll likely see hooks labeled with letters (like G, H, I) or millimeters (like 4mm, 5mm). These numbers tell you the size of the shaft, which directly affects how tight or loose your stitches will be. Most beginner patterns use hooks between 5mm (H-8) and 6mm (J-10)—perfect for medium-weight yarn (worsted weight, or #4).
But here’s the secret: comfort matters more than size.
I remember my first hook—it was a cheap plastic one from the dollar store. It felt slippery, broke halfway through my first scarf, and gave me hand cramps. Lesson learned. Invest in a hook that feels good in your hand. Aluminum, bamboo, or ergonomic plastic hooks are great starters. Brands like Susan Bates, Clover, or Furls offer affordable, high-quality options.
Pro Tip: Buy a small set of 5–7 hooks in different sizes (4mm, 5mm, 5.5mm, 6mm, 6.5mm, 7mm, 8mm). You’ll use them all as you try different projects. A hook case with a zipper? Worth every penny.
And if you’re someone who crochets for hours (yes, it’s addictive), consider an ergonomic hook with a soft grip. They’re a game-changer for joint pain or repetitive strain. Your hands will thank you after your first blanket.
2. Yarn: Not All Yarn Is Created Equal (And That’s Okay)
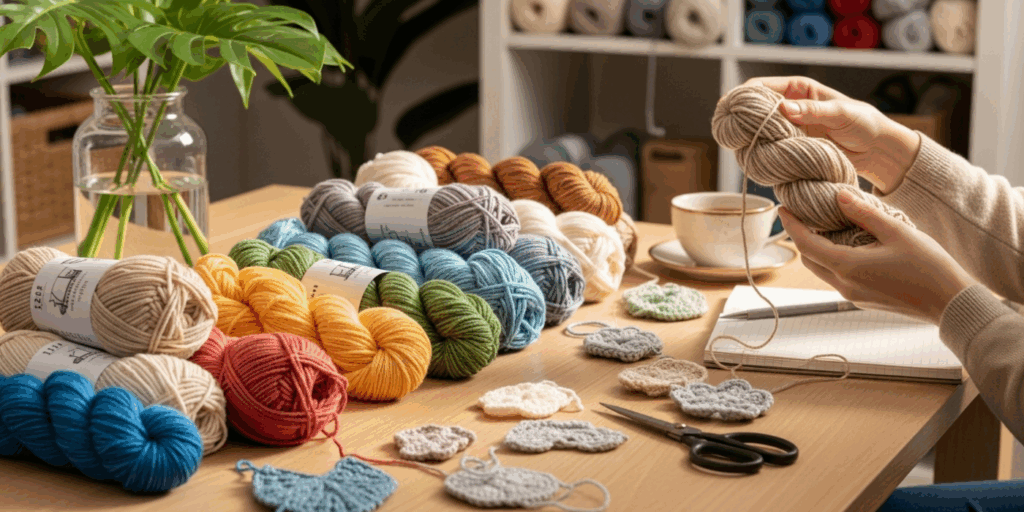
You might think, “It’s just yarn—how hard can it be?” But trust me, choosing the wrong yarn can turn your project into a tangled, frustrating mess.
As a beginner, stick to medium-weight yarn (worsted weight, labeled #4). It’s easy to handle, widely available, and forgiving. Avoid super bulky yarns (they’re tempting for quick projects!) or ultra-thin threads—they’re harder to see and manipulate when you’re learning.
Look for 100% acrylic yarn at first. Why? It’s affordable, machine-washable, and comes in endless colors. Brands like Red Heart Super Saver or Lion Brand Basic Stitch are perfect for practice. Once you get the hang of things, you can splurge on cotton, wool, or blends for softer, more luxurious projects.
Avoid the “bargain bin” mystery yarn. You know the kind—no label, no fiber content, no care instructions. It’s a gamble. One time, I bought a skein labeled “soft and fluffy”… it was scratchy, shed like a dog, and unraveled in the wash. Never again.
Pro Tip: Always check the yarn label for:
- Recommended hook size
- Fiber content
- Washing instructions
- Yardage (how many meters/yards are in the skein)
And here’s a little hack: buy extra yarn. Seriously. Even if your pattern says “one skein,” get two. Running out halfway through a blanket? That’s emotional trauma.
3. Scissors: The Quiet Hero of Crochet
You’d be surprised how many beginners underestimate scissors.
Crochet involves cutting yarn constantly—ending a row, switching colors, trimming loose ends. You don’t need fancy shears, but you do need sharp, reliable ones.
I used kitchen scissors for months. Big mistake. They dulled quickly, snagged yarn, and left jagged ends that looked messy. Then I got a small, sharp pair of embroidery scissors—about 3 inches long—with pointed tips. Suddenly, cutting was clean, fast, and satisfying.
Look for:
- Small, sharp blades (3–4 inches)
- Comfortable grip
- A protective cover (to avoid poking yourself or your cat)
Bonus: Keep a second pair of scissors only for yarn. Don’t use your sewing or craft scissors for anything else. Yarn fibers are tough—they’ll dull your blades over time.
And here’s a pro move: tie a small piece of yarn around the handle as a reminder. I did this after accidentally cutting my favorite sweater with my “yarn scissors.” (RIP, sweater. You were beautiful.)
4. Tape Measure: Because “Kinda Close” Isn’t Good Enough
You’ve crocheted a scarf. It looks great! But when you try to wrap it around your neck… it’s only 12 inches long. What happened?
You didn’t measure.
I’ve been there. More times than I’d like to admit.
A simple flexible tape measure (the kind tailors use) is non-negotiable. Crochet patterns are based on exact stitch counts and dimensions. If your gauge (how many stitches fit in an inch) is off, your hat will be too tight. Your blanket? Too small. Your amigurumi? Looks like a deflated balloon.
Why it matters: Gauge is everything. Even if you follow the pattern exactly, if your hook is slightly too big or your tension is looser than the designer’s, your finished piece won’t match.
Pro Tip: Measure your work while you’re crocheting—not just at the end. Check every 4–6 rows. It saves hours of unraveling later.
And yes, you can use a ruler—but a flexible tape is way easier for curved edges, sleeves, or circular projects. Keep one in your project bag at all times. It’s smaller than your phone.
5. Stitch Markers: Your Secret Weapon Against Mistakes
Imagine this: You’re crocheting in the round (like a hat or a granny square), and you lose track of where your round begins. You keep going… and suddenly, your circle looks like a lopsided star. Panic sets in.
Enter: stitch markers.
These tiny rings or clips (plastic, metal, or even DIY ones made from paperclips!) help you mark the beginning of a round, count increases, or highlight special stitches. They’re like little GPS trackers for your yarn.
I used to count stitches in my head. Spoiler: I lost count. Every. Single. Time.
Now? I slip a marker into the first stitch of each round. It’s a tiny thing, but it reduces frustration by 90%.
Types to know:
- Locking markers: Best for beginners. They open and close like a mini safety pin.
- Ring markers: Slid onto the hook before you start. Great for continuous rounds.
- Split-ring markers: Like tiny key rings. Super durable.
You don’t need fancy ones. A pack of 10 plastic markers costs less than $3. Buy them now. You’ll thank yourself during your third project.
Pro Tip: Use a different color marker for the end of a round if you’re doing color changes. It’s a visual lifesaver.
6. Yarn Needle: The Final Touch That Makes It Look Professional
You’ve finished your blanket. You’ve cut the yarn. But now there are loose ends sticking out everywhere.
Enter the yarn needle (also called a tapestry needle).
This blunt-tipped needle is designed to weave in those loose ends without splitting your stitches. It’s not glamorous, but it’s what turns a “cute project” into a polished, gift-worthy piece.
Here’s why you need one:
- Prevents unraveling (those loose ends can pop out with one tug!)
- Gives your work a clean, finished look
- Helps you join seams on garments or amigurumi
What to look for:
- Large eye (to fit bulky yarn)
- Blunt tip (won’t pierce your stitches)
- Comfortable handle
I keep two on hand—one for medium yarn, one for bulky. And yes, I’ve accidentally poked myself more times than I’d like to admit. But it’s worth it.
Pro Tip: Weave ends in for 2–3 inches, then trim. Don’t just snip and run. Your blanket will thank you.
7. Project Bag: Because Your Yarn Deserves a Home
Let’s be real: Crochet isn’t just a hobby. It’s a lifestyle.
You’ll have yarn in your car, your purse, your couch, your dog’s bed. Without a dedicated project bag, you’ll lose needles, mix up yarns, and forget what project you’re even working on.
A simple fabric project bag with pockets is a game-changer.
I started with a zippered pencil case. Then I graduated to a canvas tote with compartments for hooks, scissors, markers, and a notebook. Now I can grab my bag, head to the park, and crochet while my kid plays. No more digging through drawers or losing my hook under the couch.
Look for:
- Pockets for small tools
- Sturdy handles or straps
- A clear front or label space (so you know what’s inside)
Some crafters even use small backpacks or crossbody bags. Pick what fits your life. The goal? Keep everything organized, portable, and ready to go.
And don’t forget a small notebook or app to track your projects: pattern name, yarn brand, hook size, start date, and progress notes. I still go back to my old notes to remember what yarn I used for my niece’s first blanket. (Spoiler: It was “Cotton Candy Pink” from Red Heart.)
8. Light and Comfort: The Invisible Tools You Can’t See (But Will Feel)
Here’s something no one tells you: Crocheting hurts if you’re not set up right.
I used to sit on the couch with my laptop on my knees, squinting at my stitches under a dim lamp. By 8 p.m., my eyes were burning, my neck was stiff, and I’d give up.
Good lighting and posture aren’t luxuries—they’re necessities.
Lighting tip: Use a bright, warm LED lamp with adjustable arms. Clip-on lamps are perfect for couch crocheting. I use a $15 LED lamp from Amazon that I can angle right over my work. It makes colors pop and stitches clear—even in the evening.
Posture tip: Sit in a chair with back support. Keep your wrists neutral. Take breaks every 30 minutes. Stretch your fingers. Your future self will thank you.
And if you crochet at night? A headlamp (yes, the kind hikers use) is a weirdly brilliant hack. Hands-free lighting? Yes, please.
9. Pattern Resources: Your Creative GPS
You’ve got your tools. Now what?
You need patterns.
Start simple. Look for “beginner crochet patterns” on free sites like:
- Ravelry (free section)
- AllFreeCrochet.com
- LoveCrochet.com
- YouTube (search “beginner crochet blanket tutorial”)
Avoid overly complex patterns at first. Stick to single crochet, double crochet, and simple shapes. A granny square blanket? Perfect. A lace shawl with 12 different stitch patterns? Wait until you’re ready.
Pro Tip: Print or save patterns to your phone. I keep a folder called “My Crochet Library” on my tablet. I can flip through it while waiting in line or during my coffee break.
And here’s a secret: Join a crochet group. Facebook groups, Reddit’s r/crochet, or local craft circles are full of supportive people who’ll answer your questions, cheer you on, and even send you free patterns.
You’re not alone in this.
10. Patience: The Most Important Tool of All
Let’s be honest. You won’t get it right the first time.
Your stitches will be uneven. You’ll drop one. You’ll accidentally increase a row and end up with a triangle instead of a square.
That’s okay.
Crochet isn’t about perfection. It’s about presence.
Every loop you pull through is a moment of calm in a noisy world. Every completed row is proof that you’re learning. Every mistake? A lesson in disguise.
I still have my first scarf. It’s lopsided. The edges curl. The color changes are messy. But I wear it every winter. Why? Because it reminds me how far I’ve come.
Your tools? They’re just helpers. The real magic? You.
You’re the one showing up. The one trying again. The one turning yarn into warmth, into joy, into something made with your own hands.
So go ahead. Grab your hook. Pick up that yarn. Settle in.
And start your first stitch.
You’ve got this.
Final Thoughts: Your Crochet Journey Starts Now
Let’s recap what you really need to get started:
✅ A comfortable hook (5mm–6mm recommended)
✅ Medium-weight yarn (#4 worsted)
✅ Sharp scissors
✅ Flexible tape measure
✅ Stitch markers (5–10)
✅ Yarn needle
✅ A project bag
✅ Good lighting
✅ Simple patterns
✅ And above all—patience
You don’t need to buy everything at once. Start with the hook, yarn, and scissors. Add the rest as you go.
And when you finish your first project? Take a picture. Celebrate. Share it. Tell someone how proud you are.
Because crochet isn’t just about making things.
It’s about making yourself—one stitch at a time.
What’s your first crochet project going to be?
Drop it in the comments below—I’d love to cheer you on! And if you found this guide helpful, share it with a friend who’s thinking about picking up a hook. You never know—you might start a whole new crafter’s journey. 🧶💛

Maria Santos is a dedicated crochet and knitting enthusiast who finds joy in turning simple strands of yarn into meaningful, handmade art. With a natural eye for detail and a deep love for fiber crafts, she brings warmth, creativity, and years of personal experience to every project. Maria is inspired by the stories woven into each stitch and loves sharing that passion with others.


